As regular readers know, I’m somewhat in the middle of a ‘return to the road’ build of my Morris Oxford. Between myself and my mate John, we’ve been stuck in a groundhog day of grinding, cutting and welding for some time.
Last Sunday was planned to be different! Up super early, and the GSA thrummed up the road with considerable aplomb, we were ready to tackle anything..
Well, nearly anything.
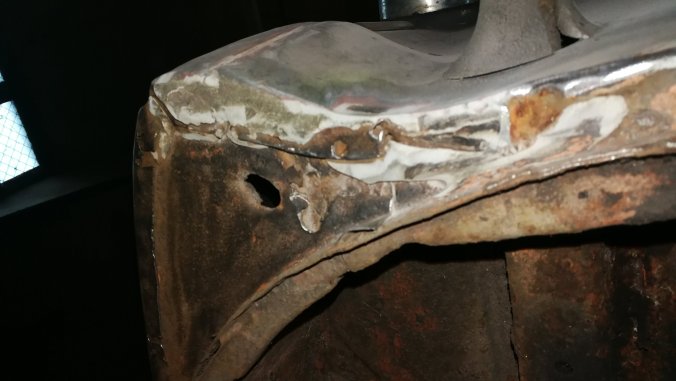
This was the starting point.

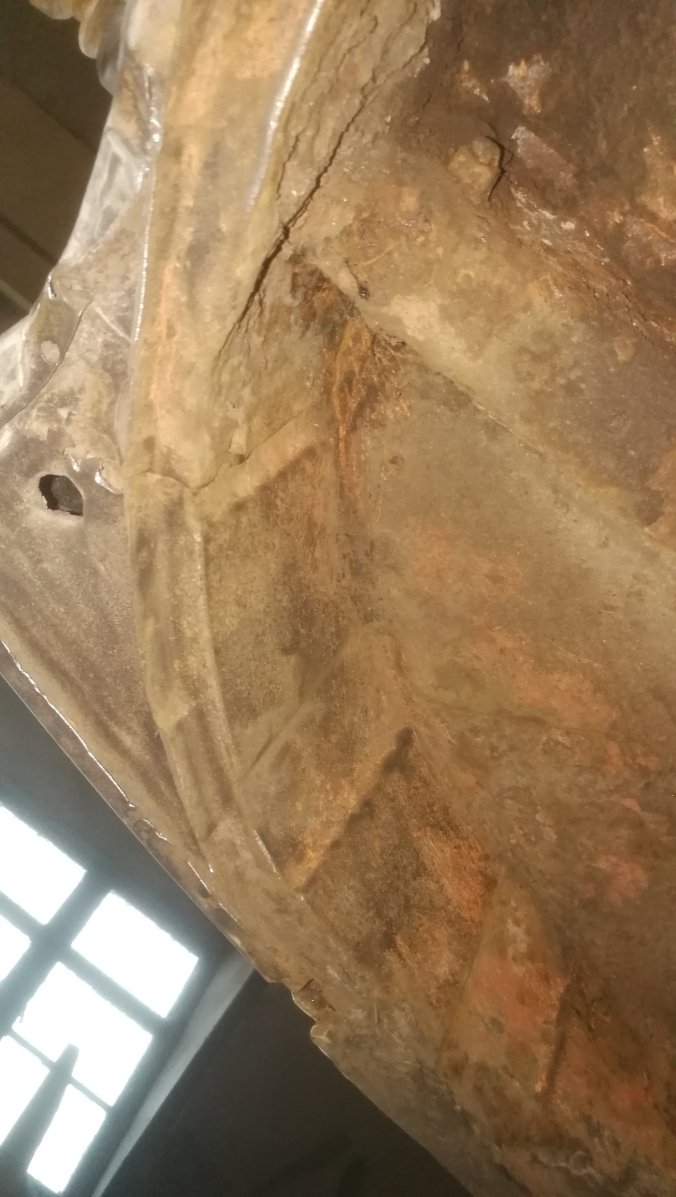
Approx 1 metric shit tonne of filler appears to form the outer sill at the front.
It all had to come out and be investigated.

Sometimes I used a cold chisel, and sometimes the vicious grinder mounted wire wheel.

The sill appeared to have had a flat repair panel tacked in, and the curve was formed using several tubs of filler – somewhat akin to a plaster dado rail.
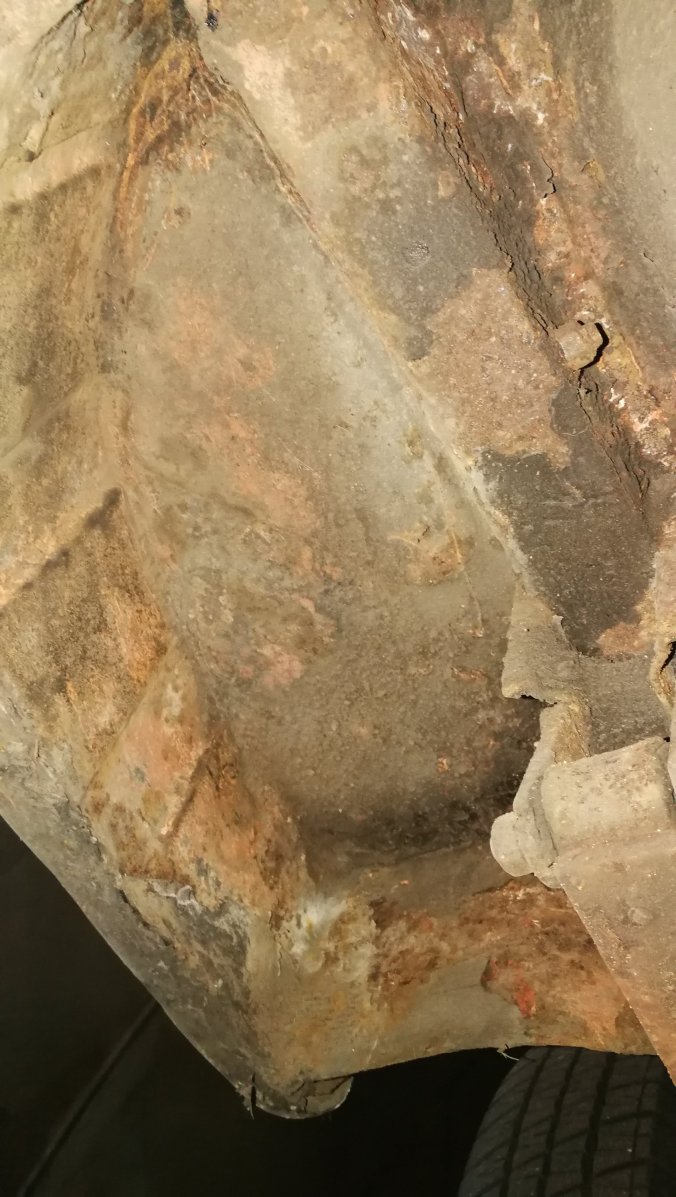
Having got this far, there was nothing for it but to chase the sill back to bare metal and see what other horrors lurked.


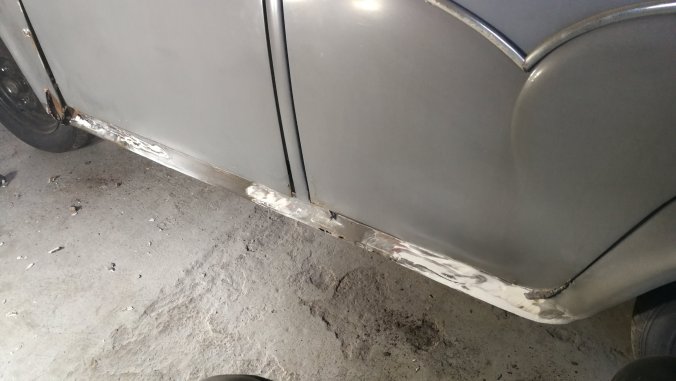
It wasn’t great. Not great at all. It was also filthy work.

These shoes should be bright yellow..


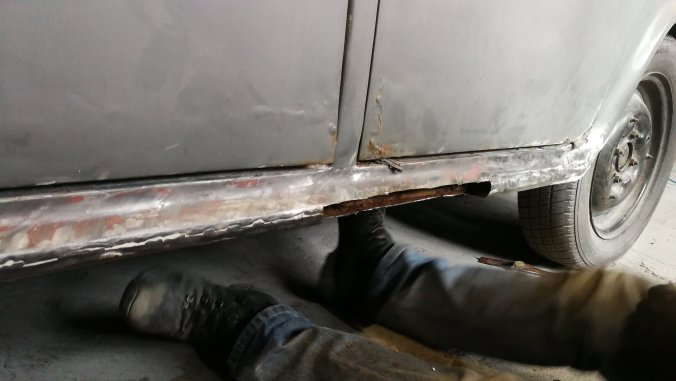
With most of the filler removed, we could get on with seeing what we had to work with. Out with the cutting disc and “off with her welds”..


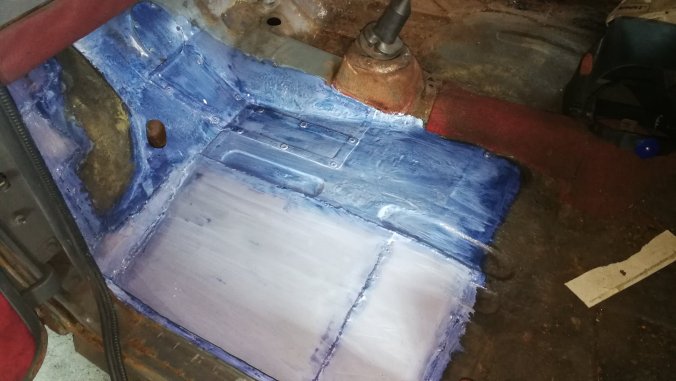
You can see the mid sill panels we built when doing the floorpans, so we have something nice and solid to tie to.
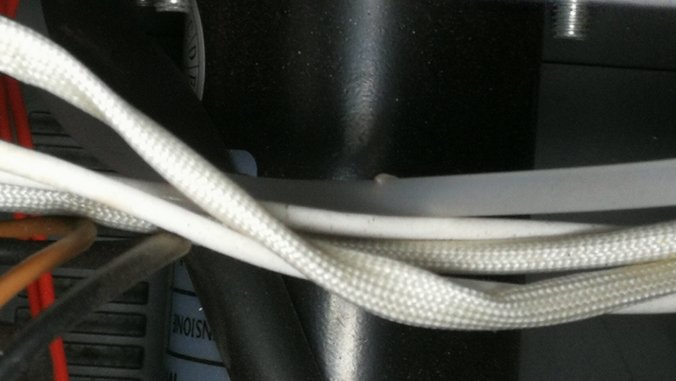
Meantime, John had fitted a whole new wiring circuit to the unit, and we had actual light to work in.

It was felt that a break for lunch would be appropriate, so I vactan’d up the front wheel arch repair and we scarpered to scran.

Upon return, the Vactan was dry and it was time to get welding – adding in metal for the first time on the day!


This connected up and reinforced h mid sill to inner wing join. It’ll need ground back and tidied but it at least provides somewhere to start from.
In this pic, the bottom of the larger panel has not yet been welded onto the outer sill- we left it like this to allow for outer sill manipulation when lining up other repair patches. It will get tied off before being boxed in.
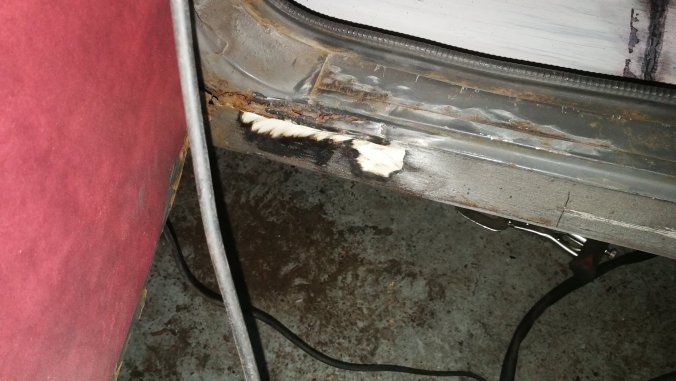
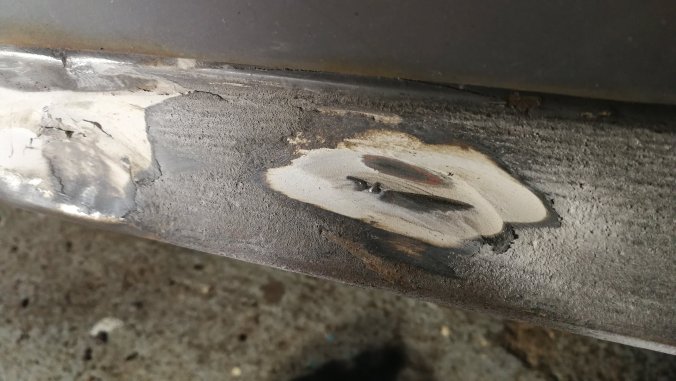
Next up was to salvage the one decent patch at the front. It had only been tacked on, so it was a case of applying more weld where appropriate

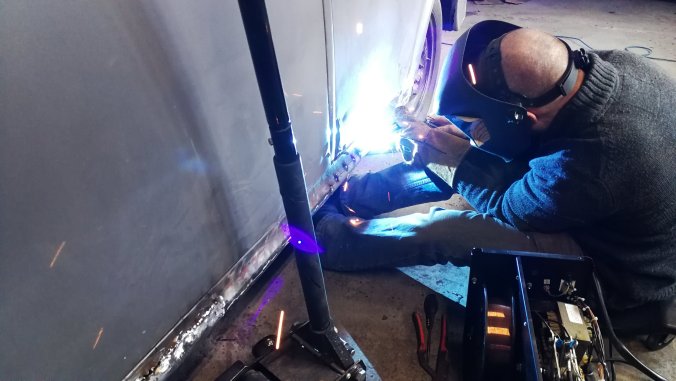
As you can see, the jack proved useful for positioning the outer sill.

Whils I was doing that, John was having great fun finding other outer sill patches that were required..


In his defence, he did make an awful neat job of repairing it!

There was just time to start forming up the front sill repair – handily, the old conduit pipe from the unit lights was ideal as a shaper for the curve.

Still some work to do, but we were tired and dusty by then. Hopefully we’ll get the LHS finished soon!