Remember when you were a kid and got an awesome new present?
The shiny box
The anticipation
The slumped shoulders and battle worn look of you Dad.
Whilst you were looking at the box in amazement, your Dad was seeing stripped screws, flat batteries and crying wean.
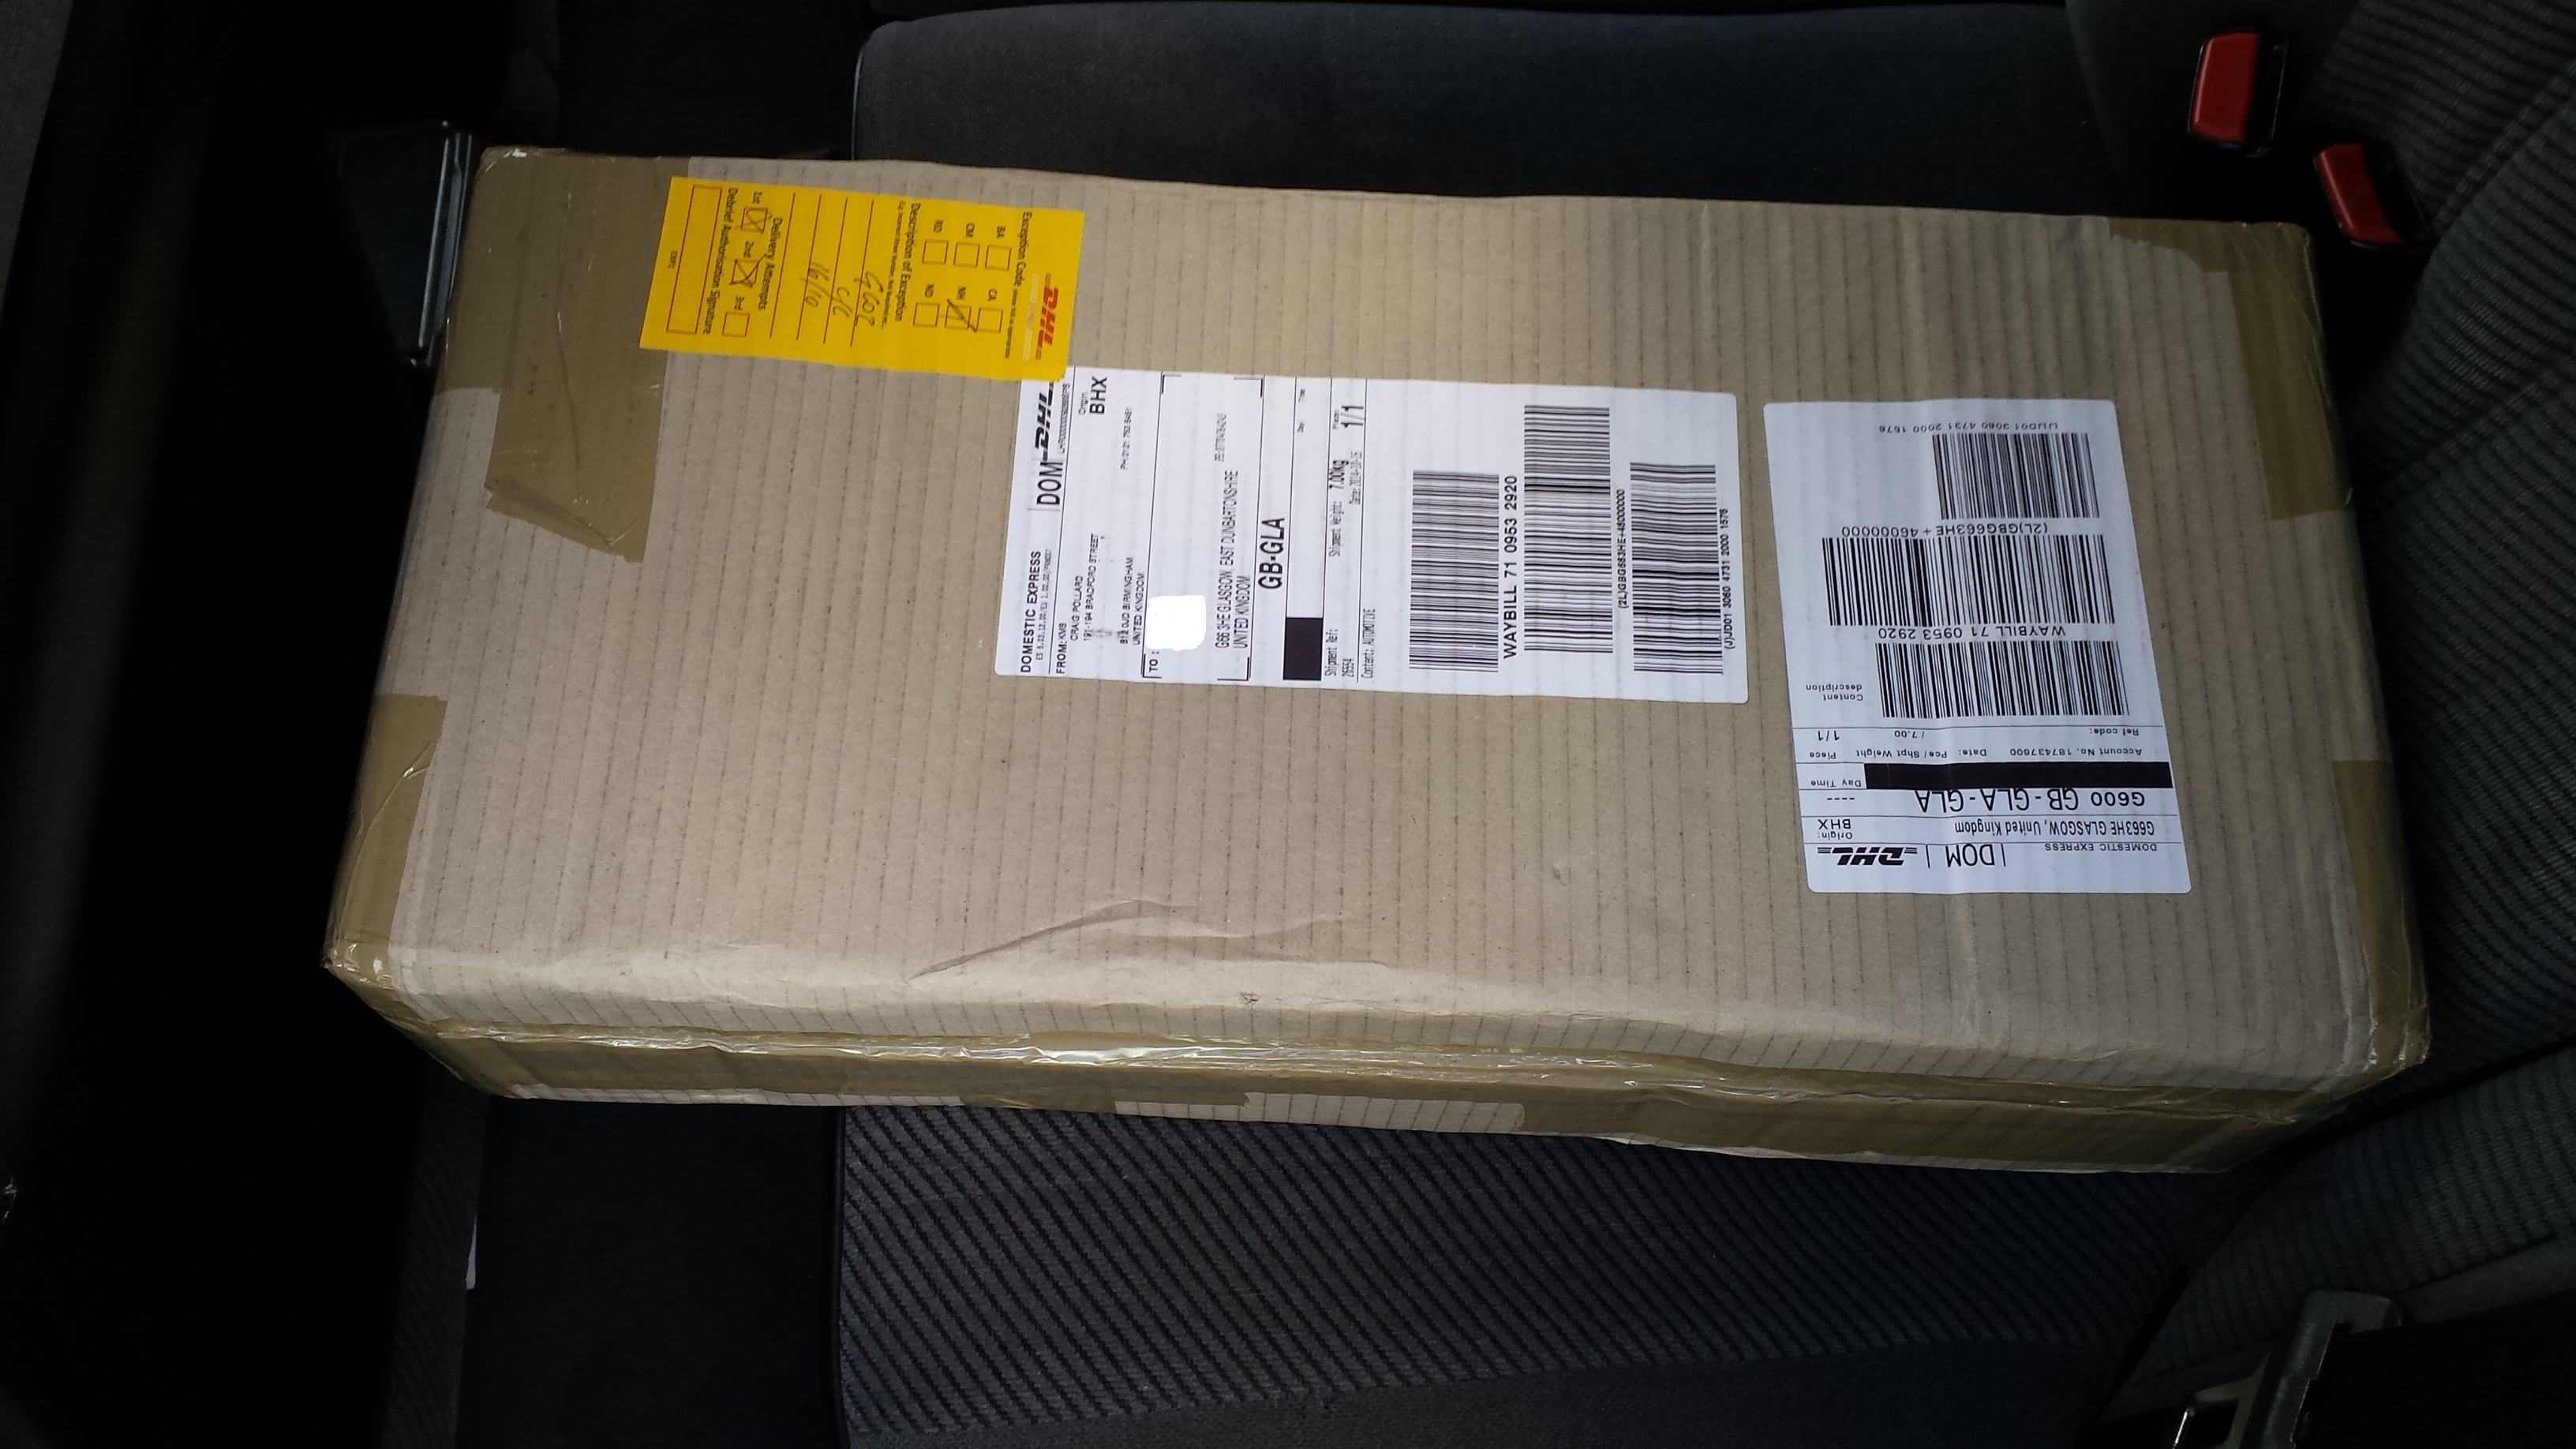
Today I collected the shiny box, and marvelled at the contents- this blog tells the Father side experience of the story..
Firstly, collect 2x new rear dampers for your e32. To do this you need
- A car with sufficient petrol
- The ability to comprehend that a parcel sitting 20 miles away can be considered “Delivered”
- A passport ( I was hitherto unaware of said border)
The ordeal over- I had this
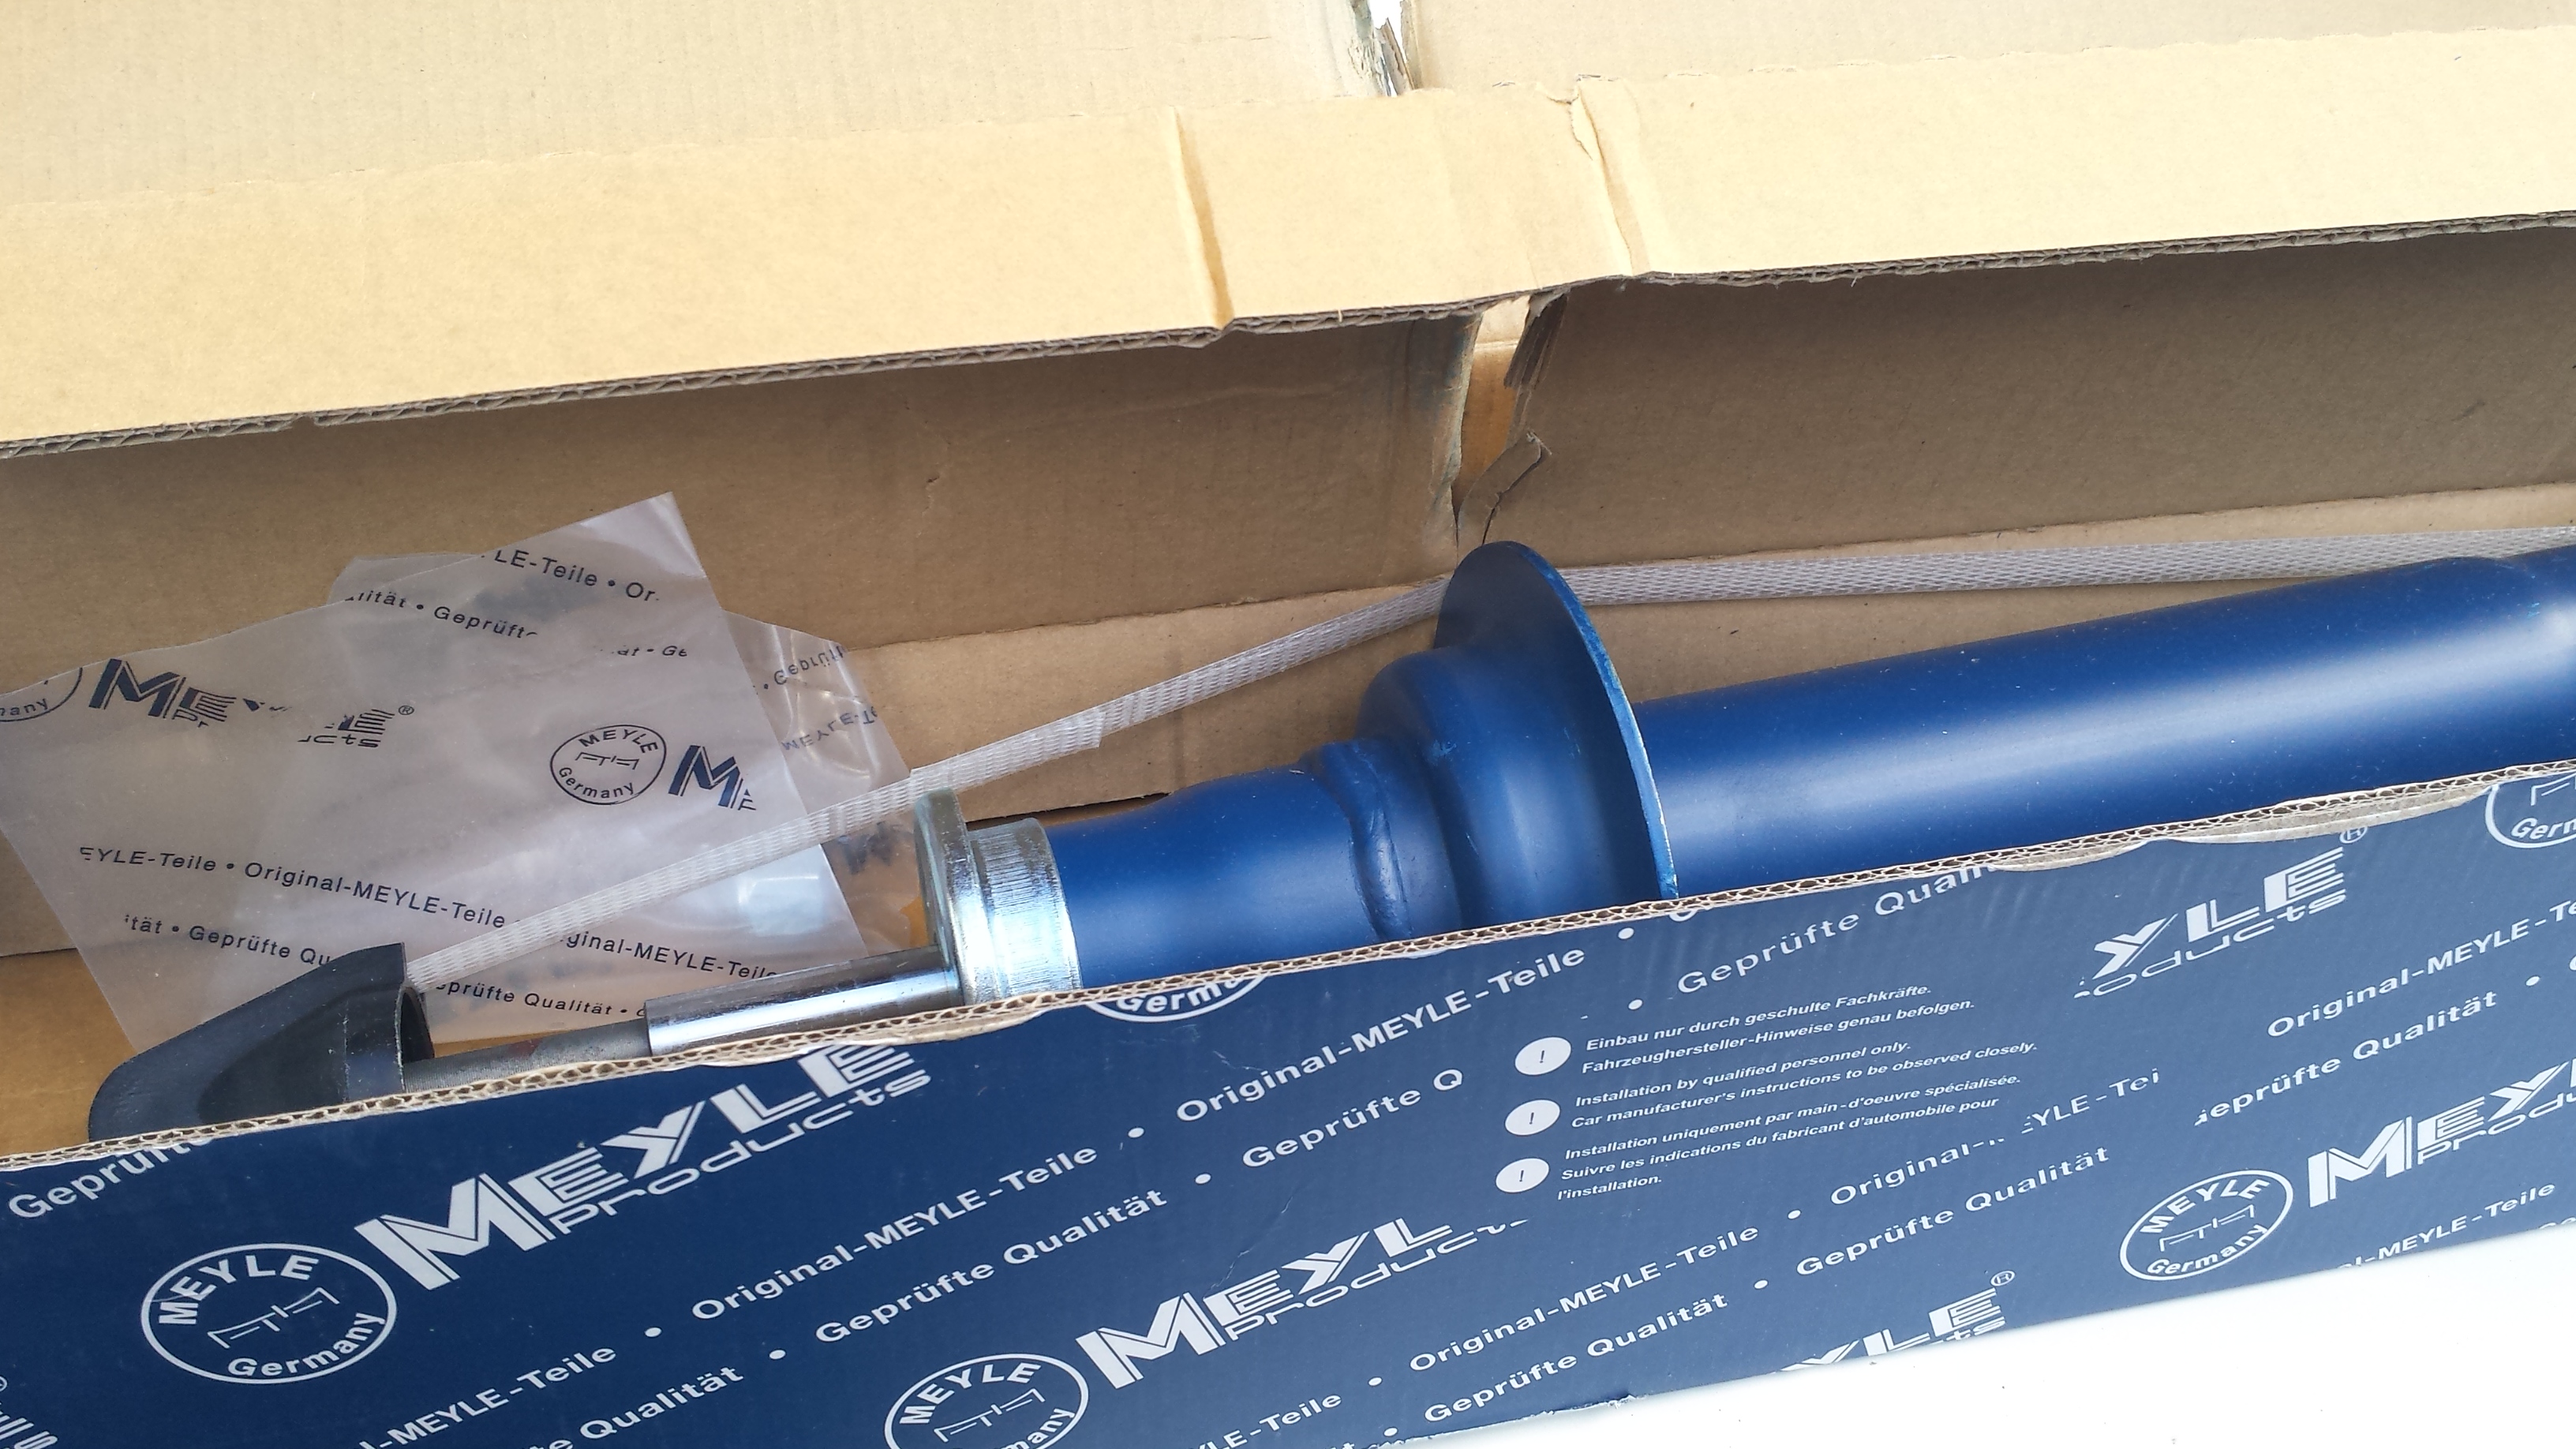
Containing these

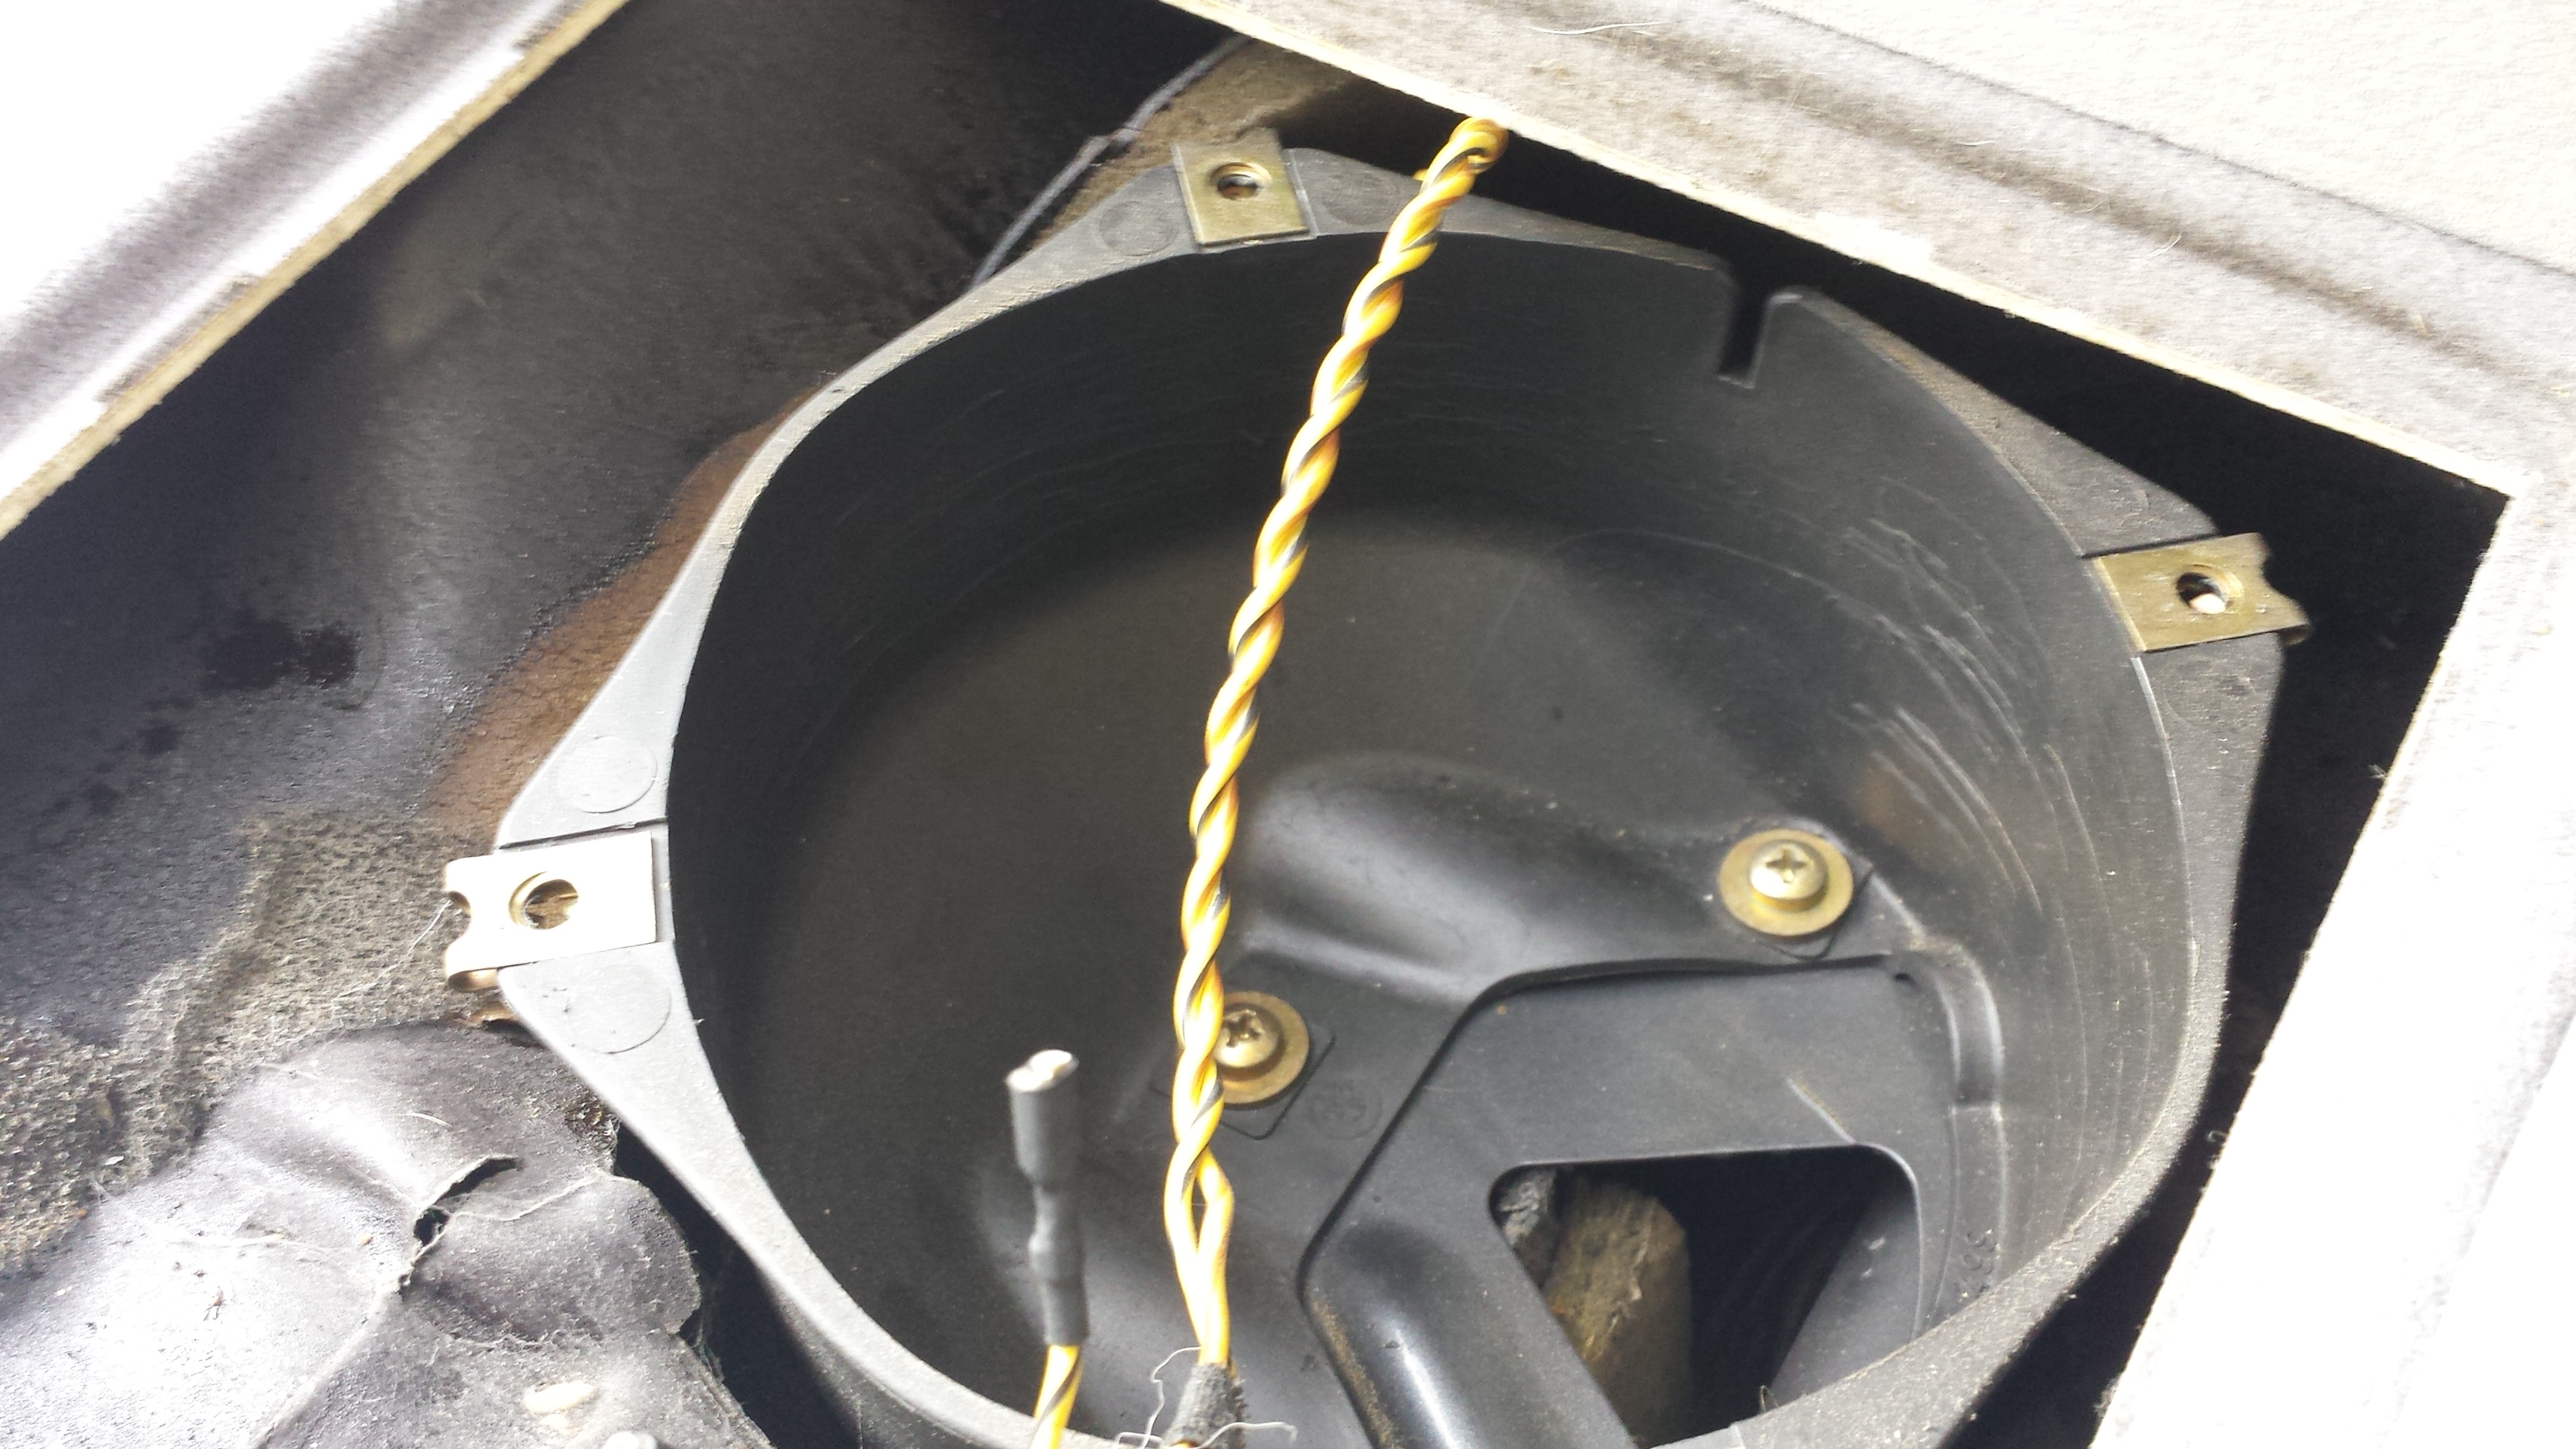
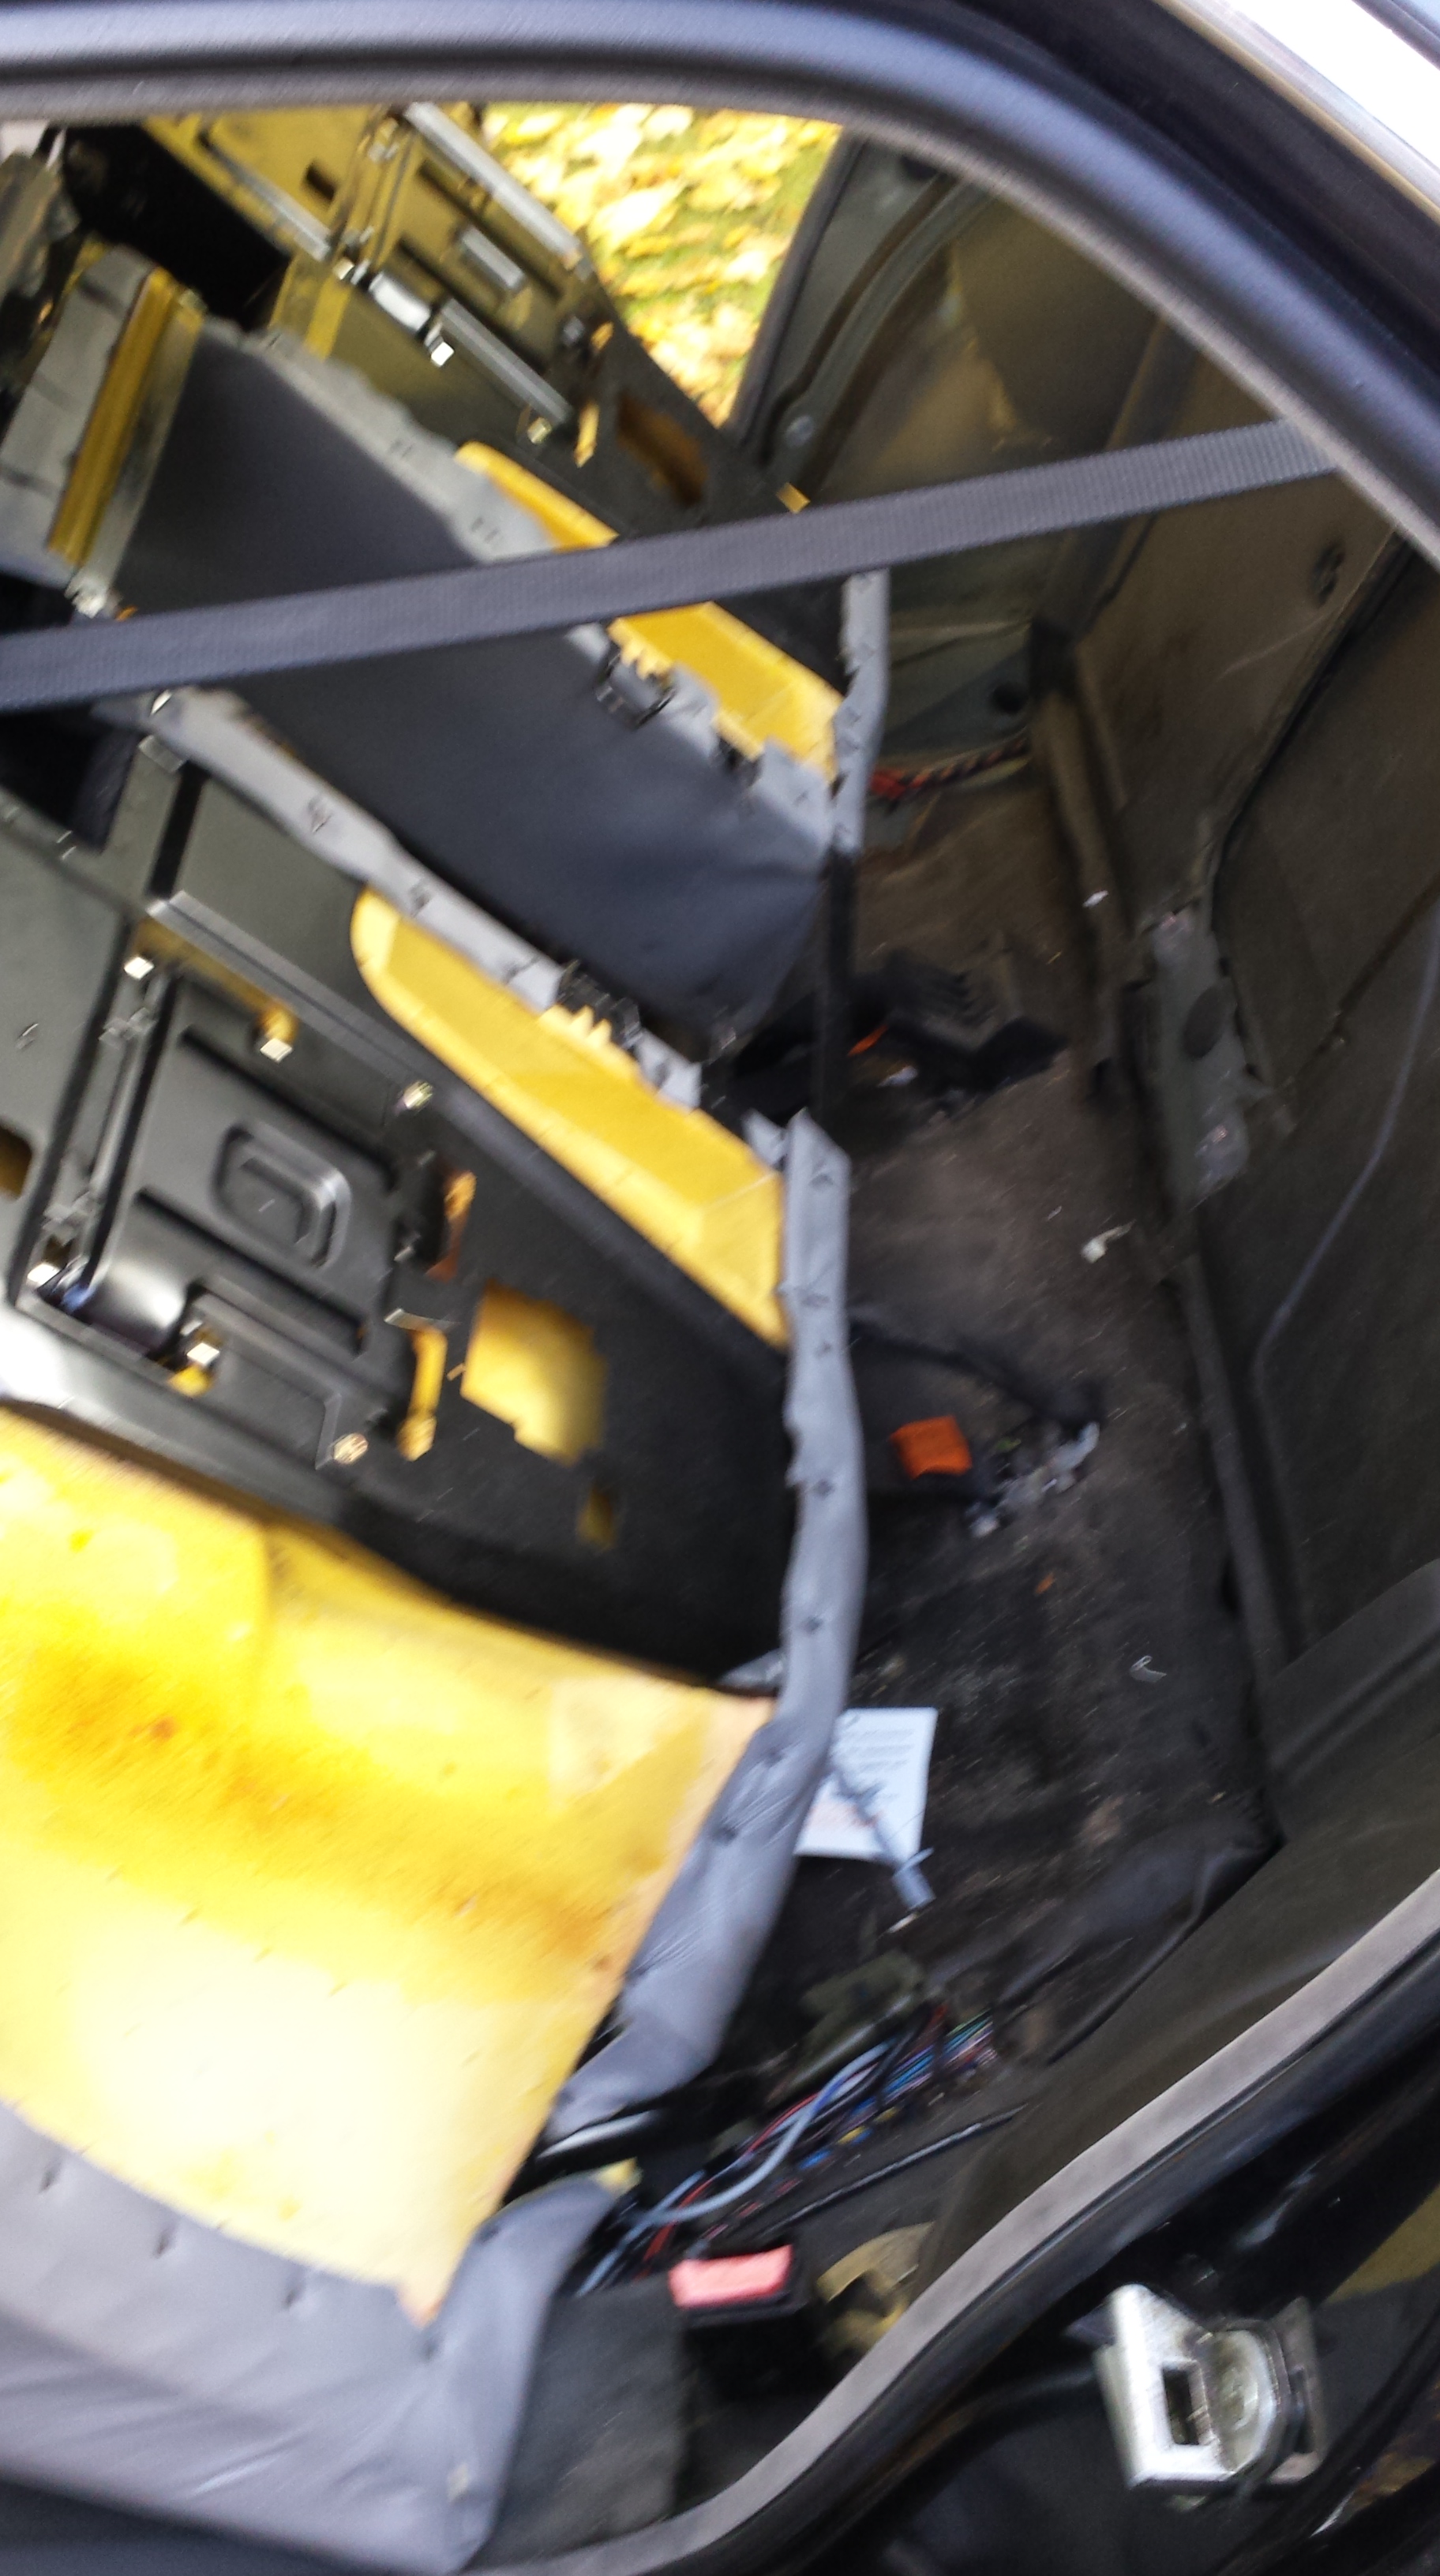
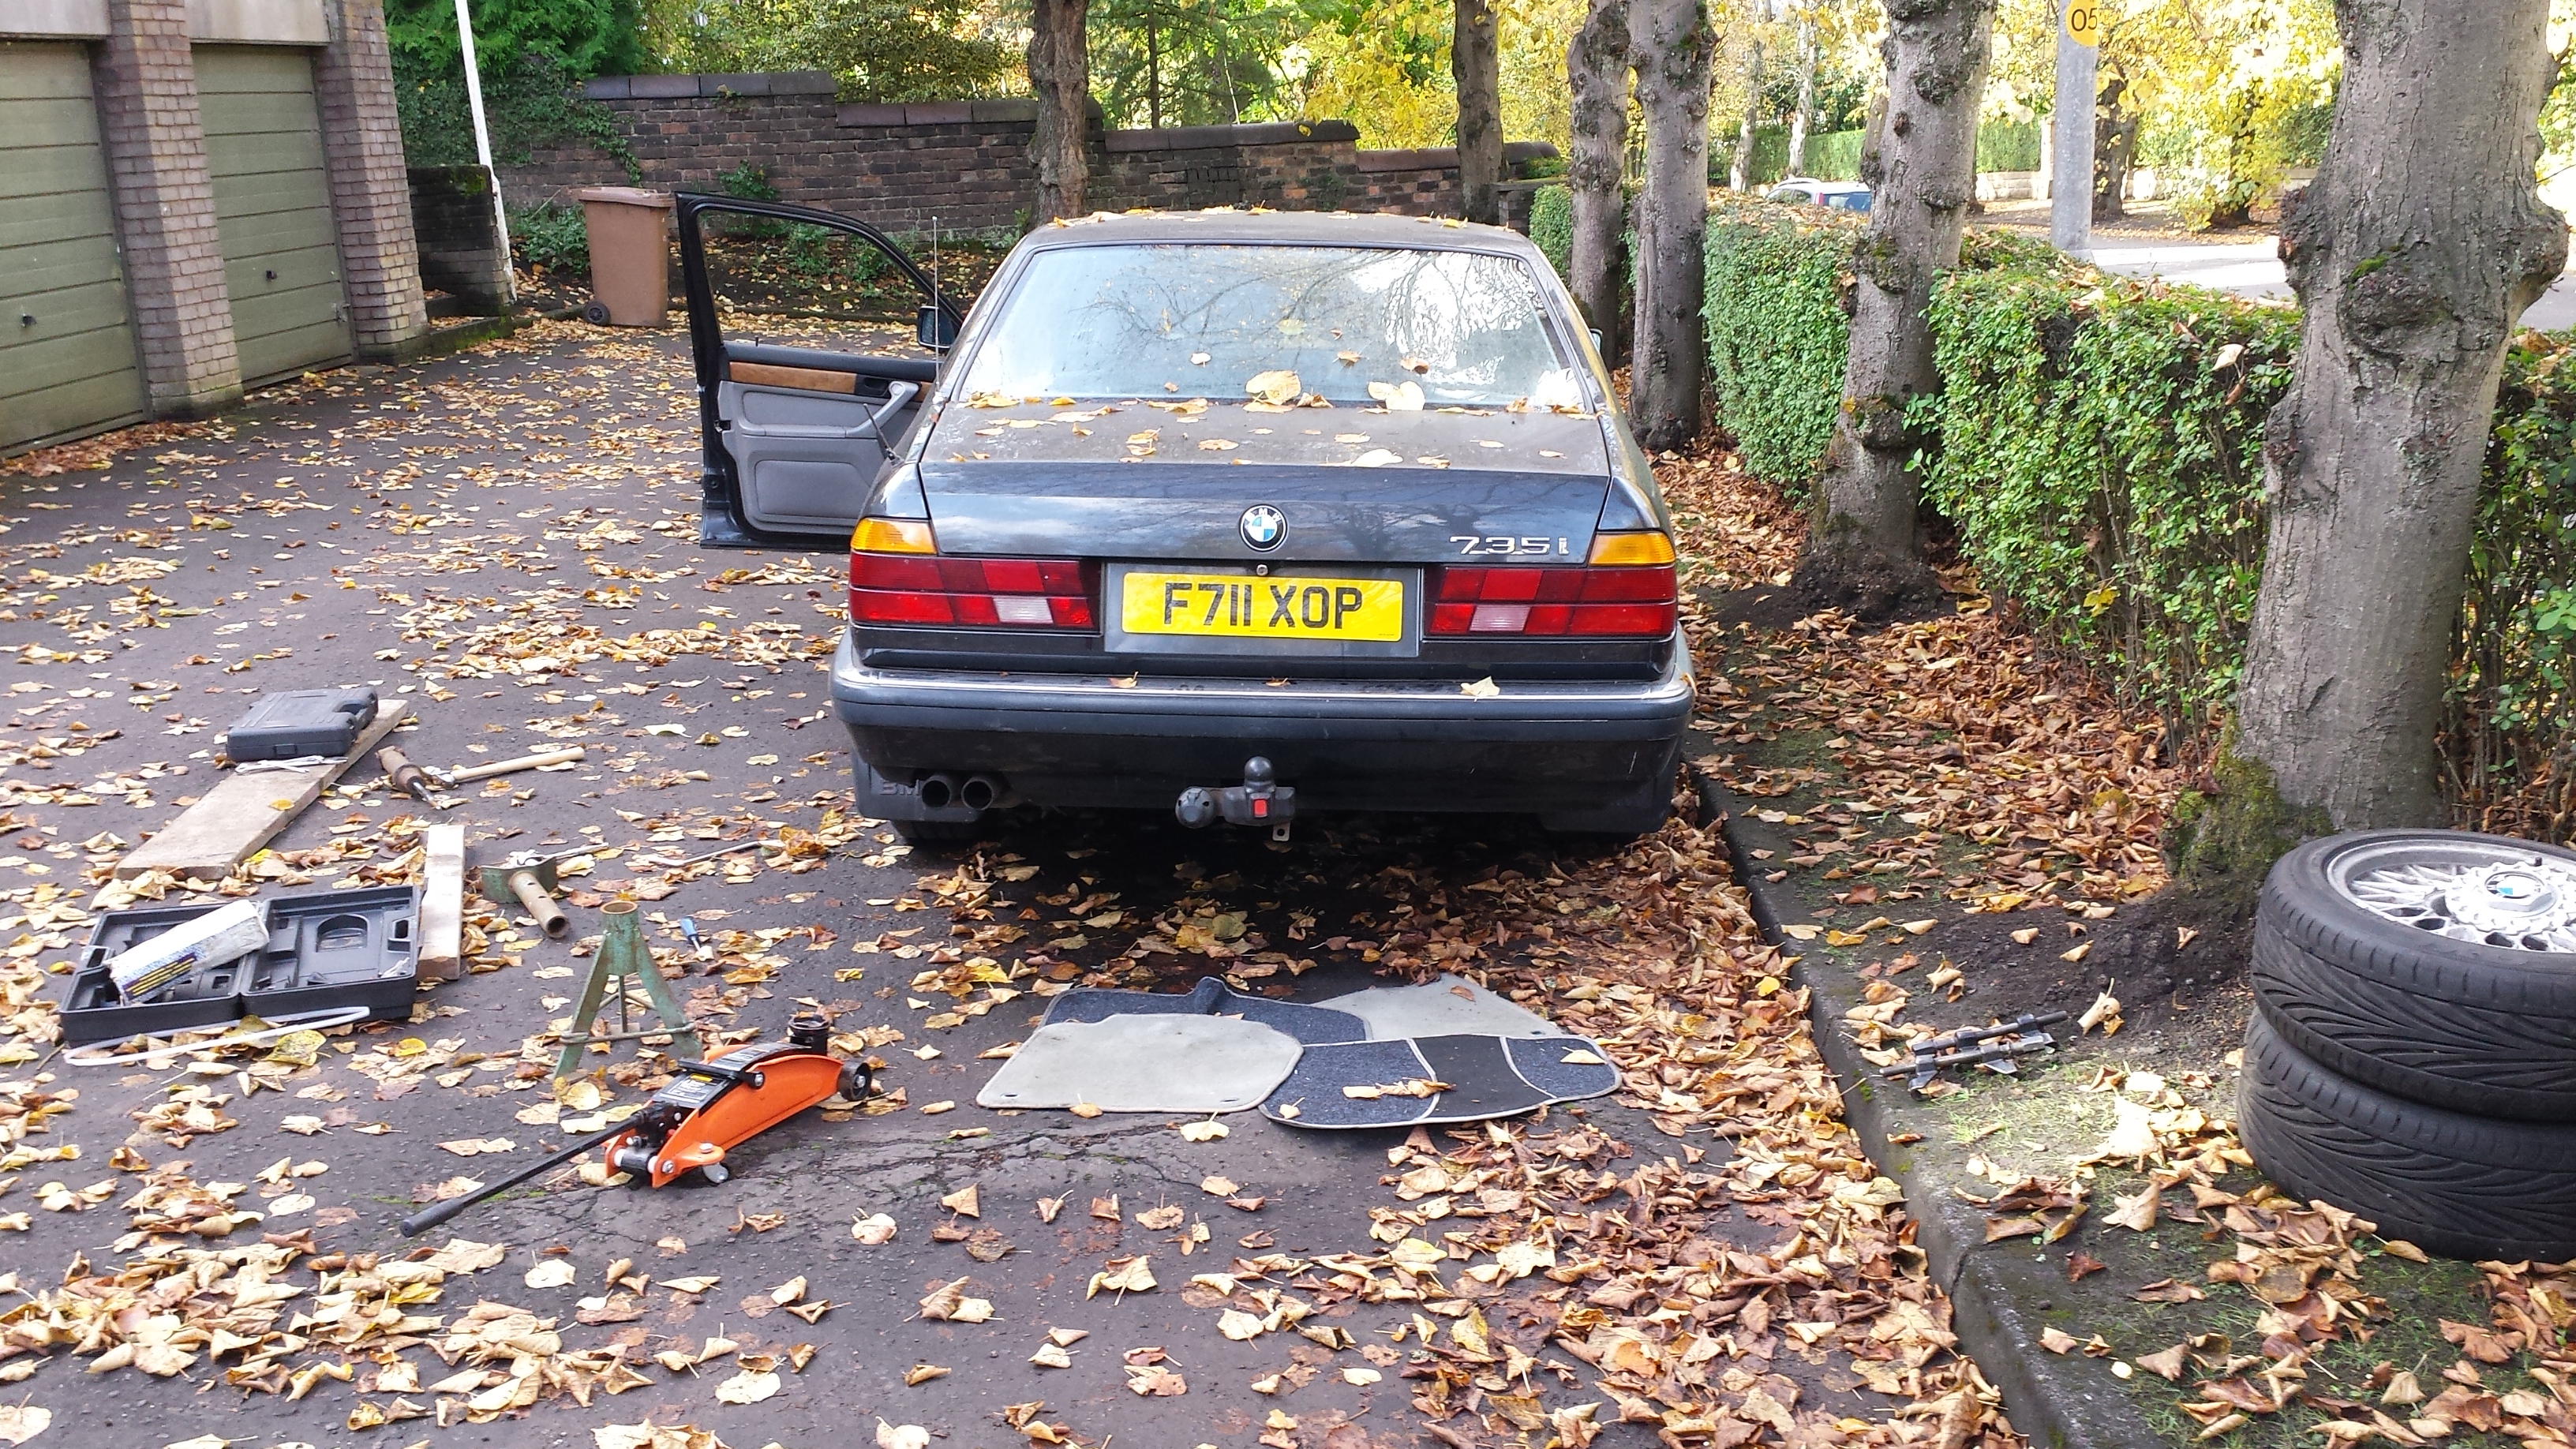
The initial strip down commenced with the removal of the rear speaker.
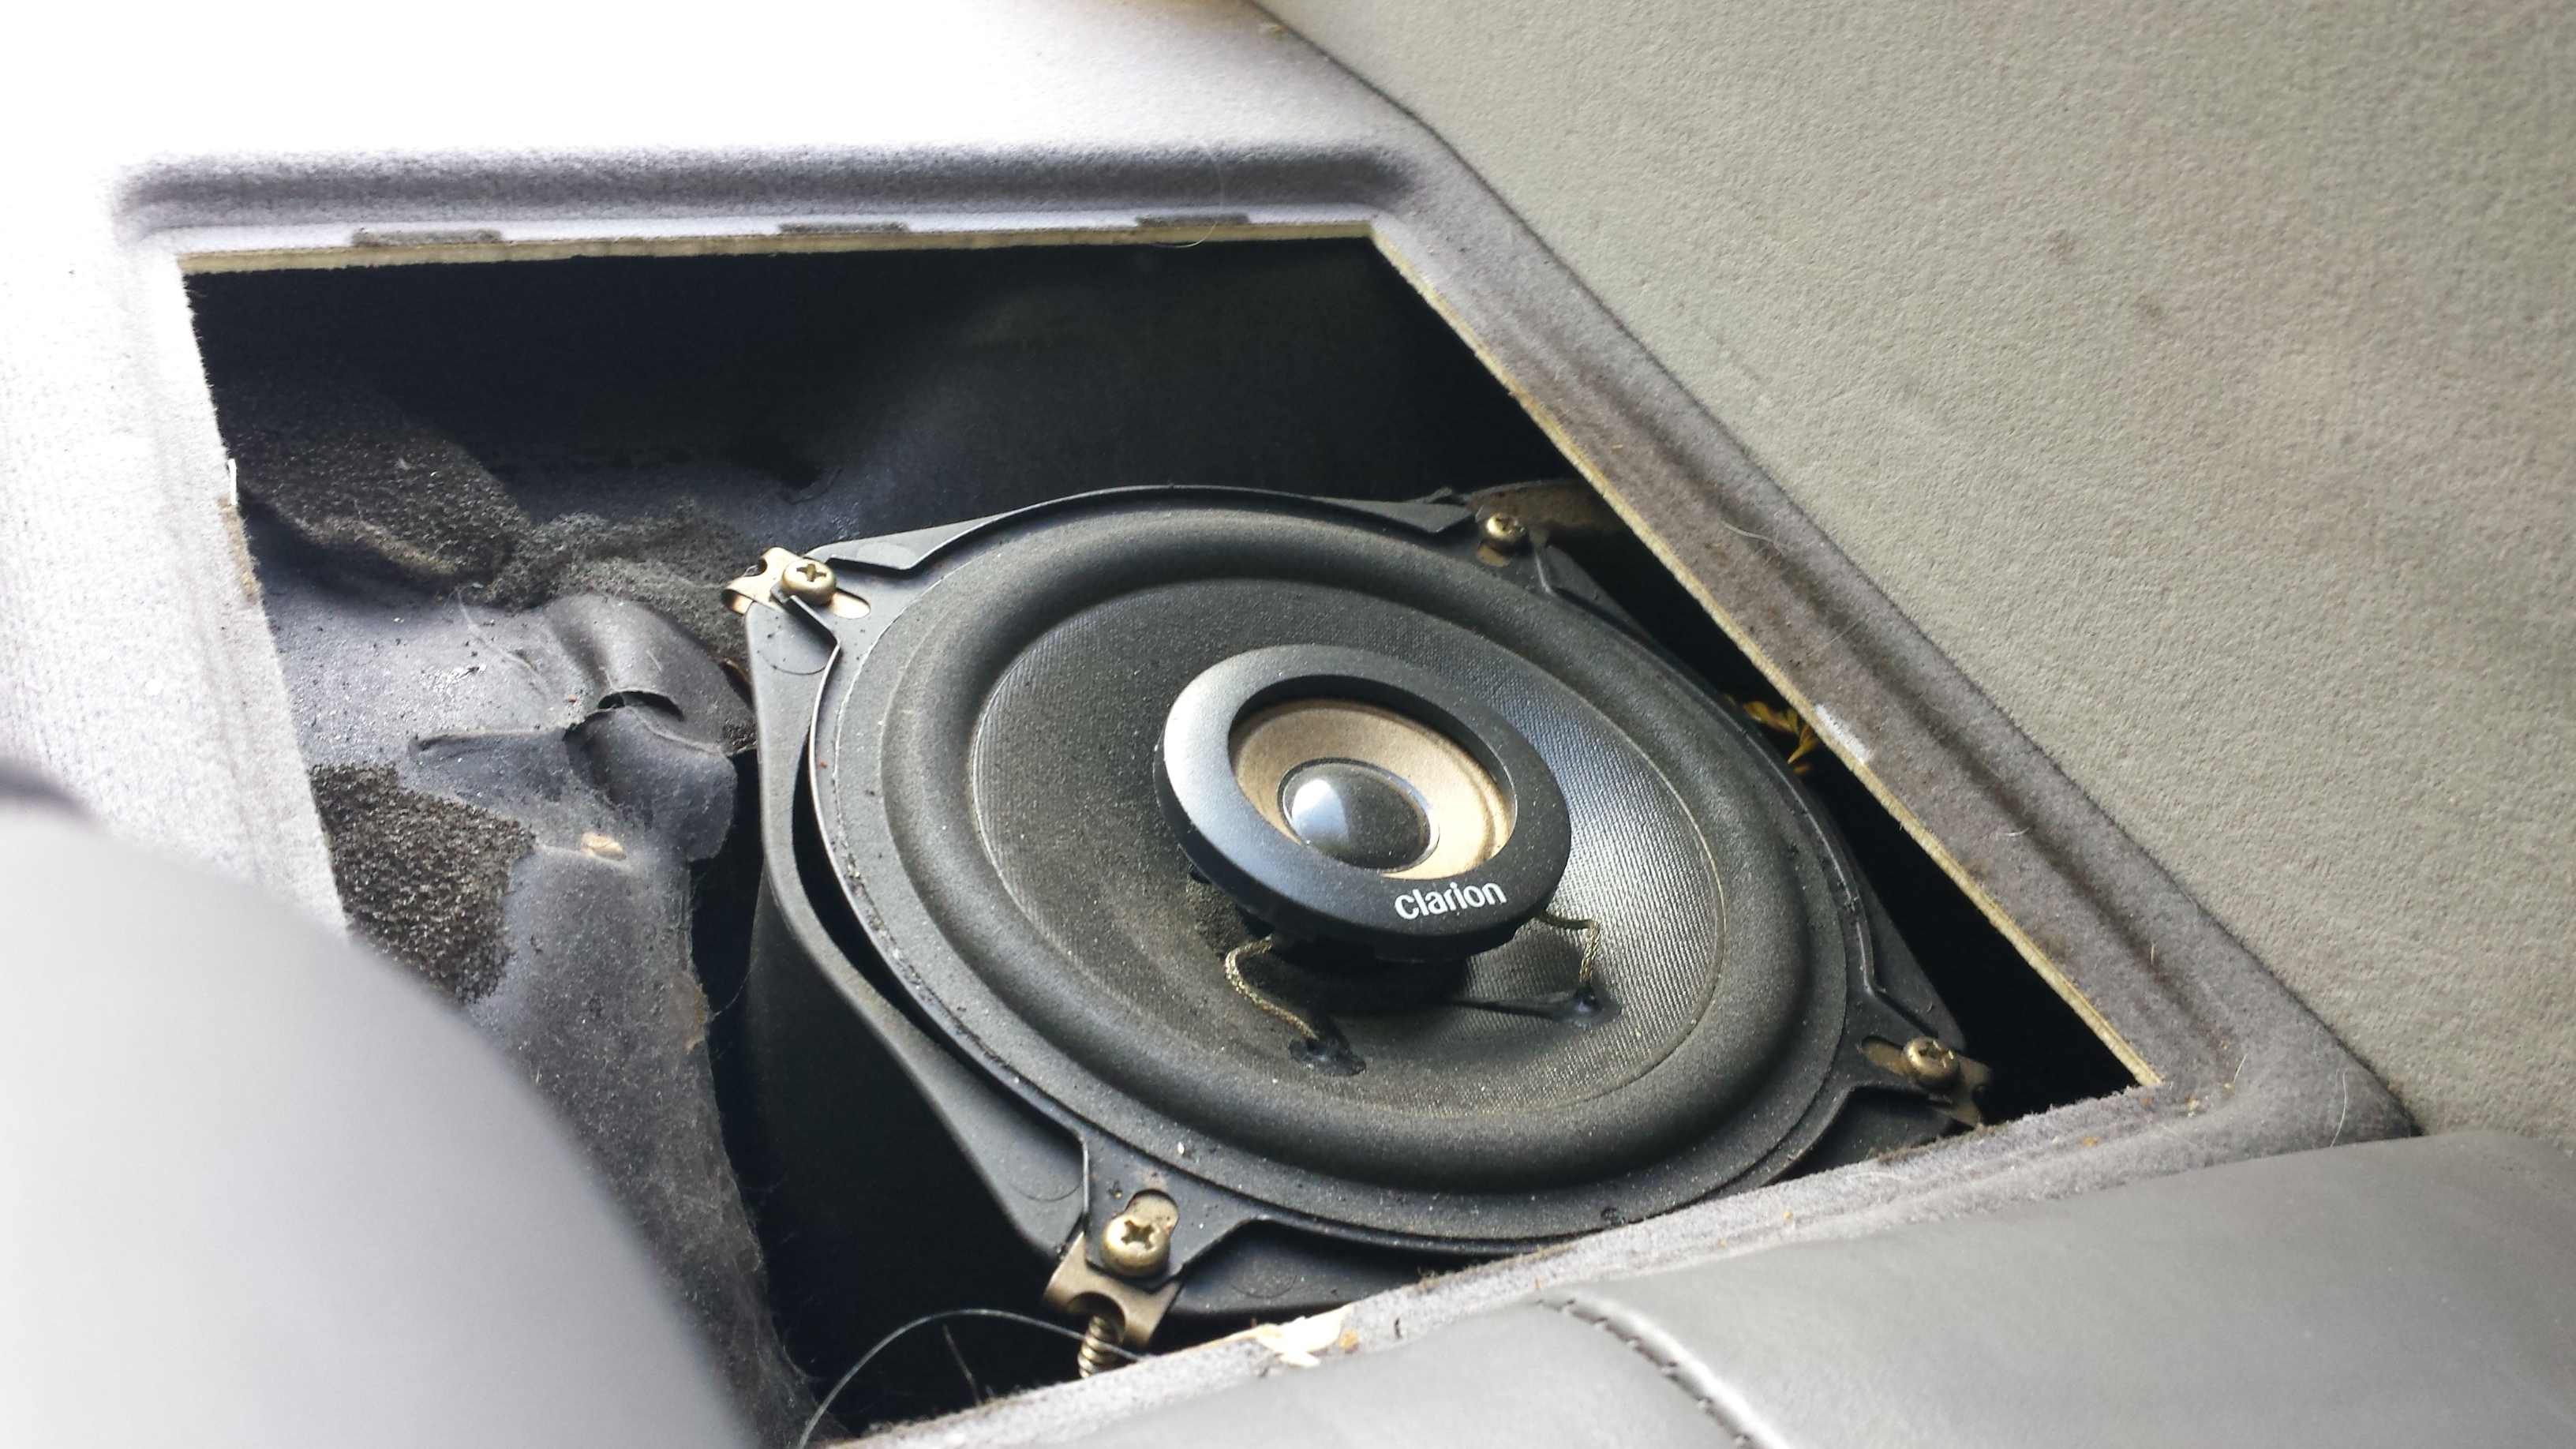
In the last car I did this job in, that was all that was needed to allow access to the topmounts. That car (an e34 5 series) had already had some other work done.
That work included taking the rear seats out, bugger.
The base lifts up fairly simply- revealing some need for a hoover.
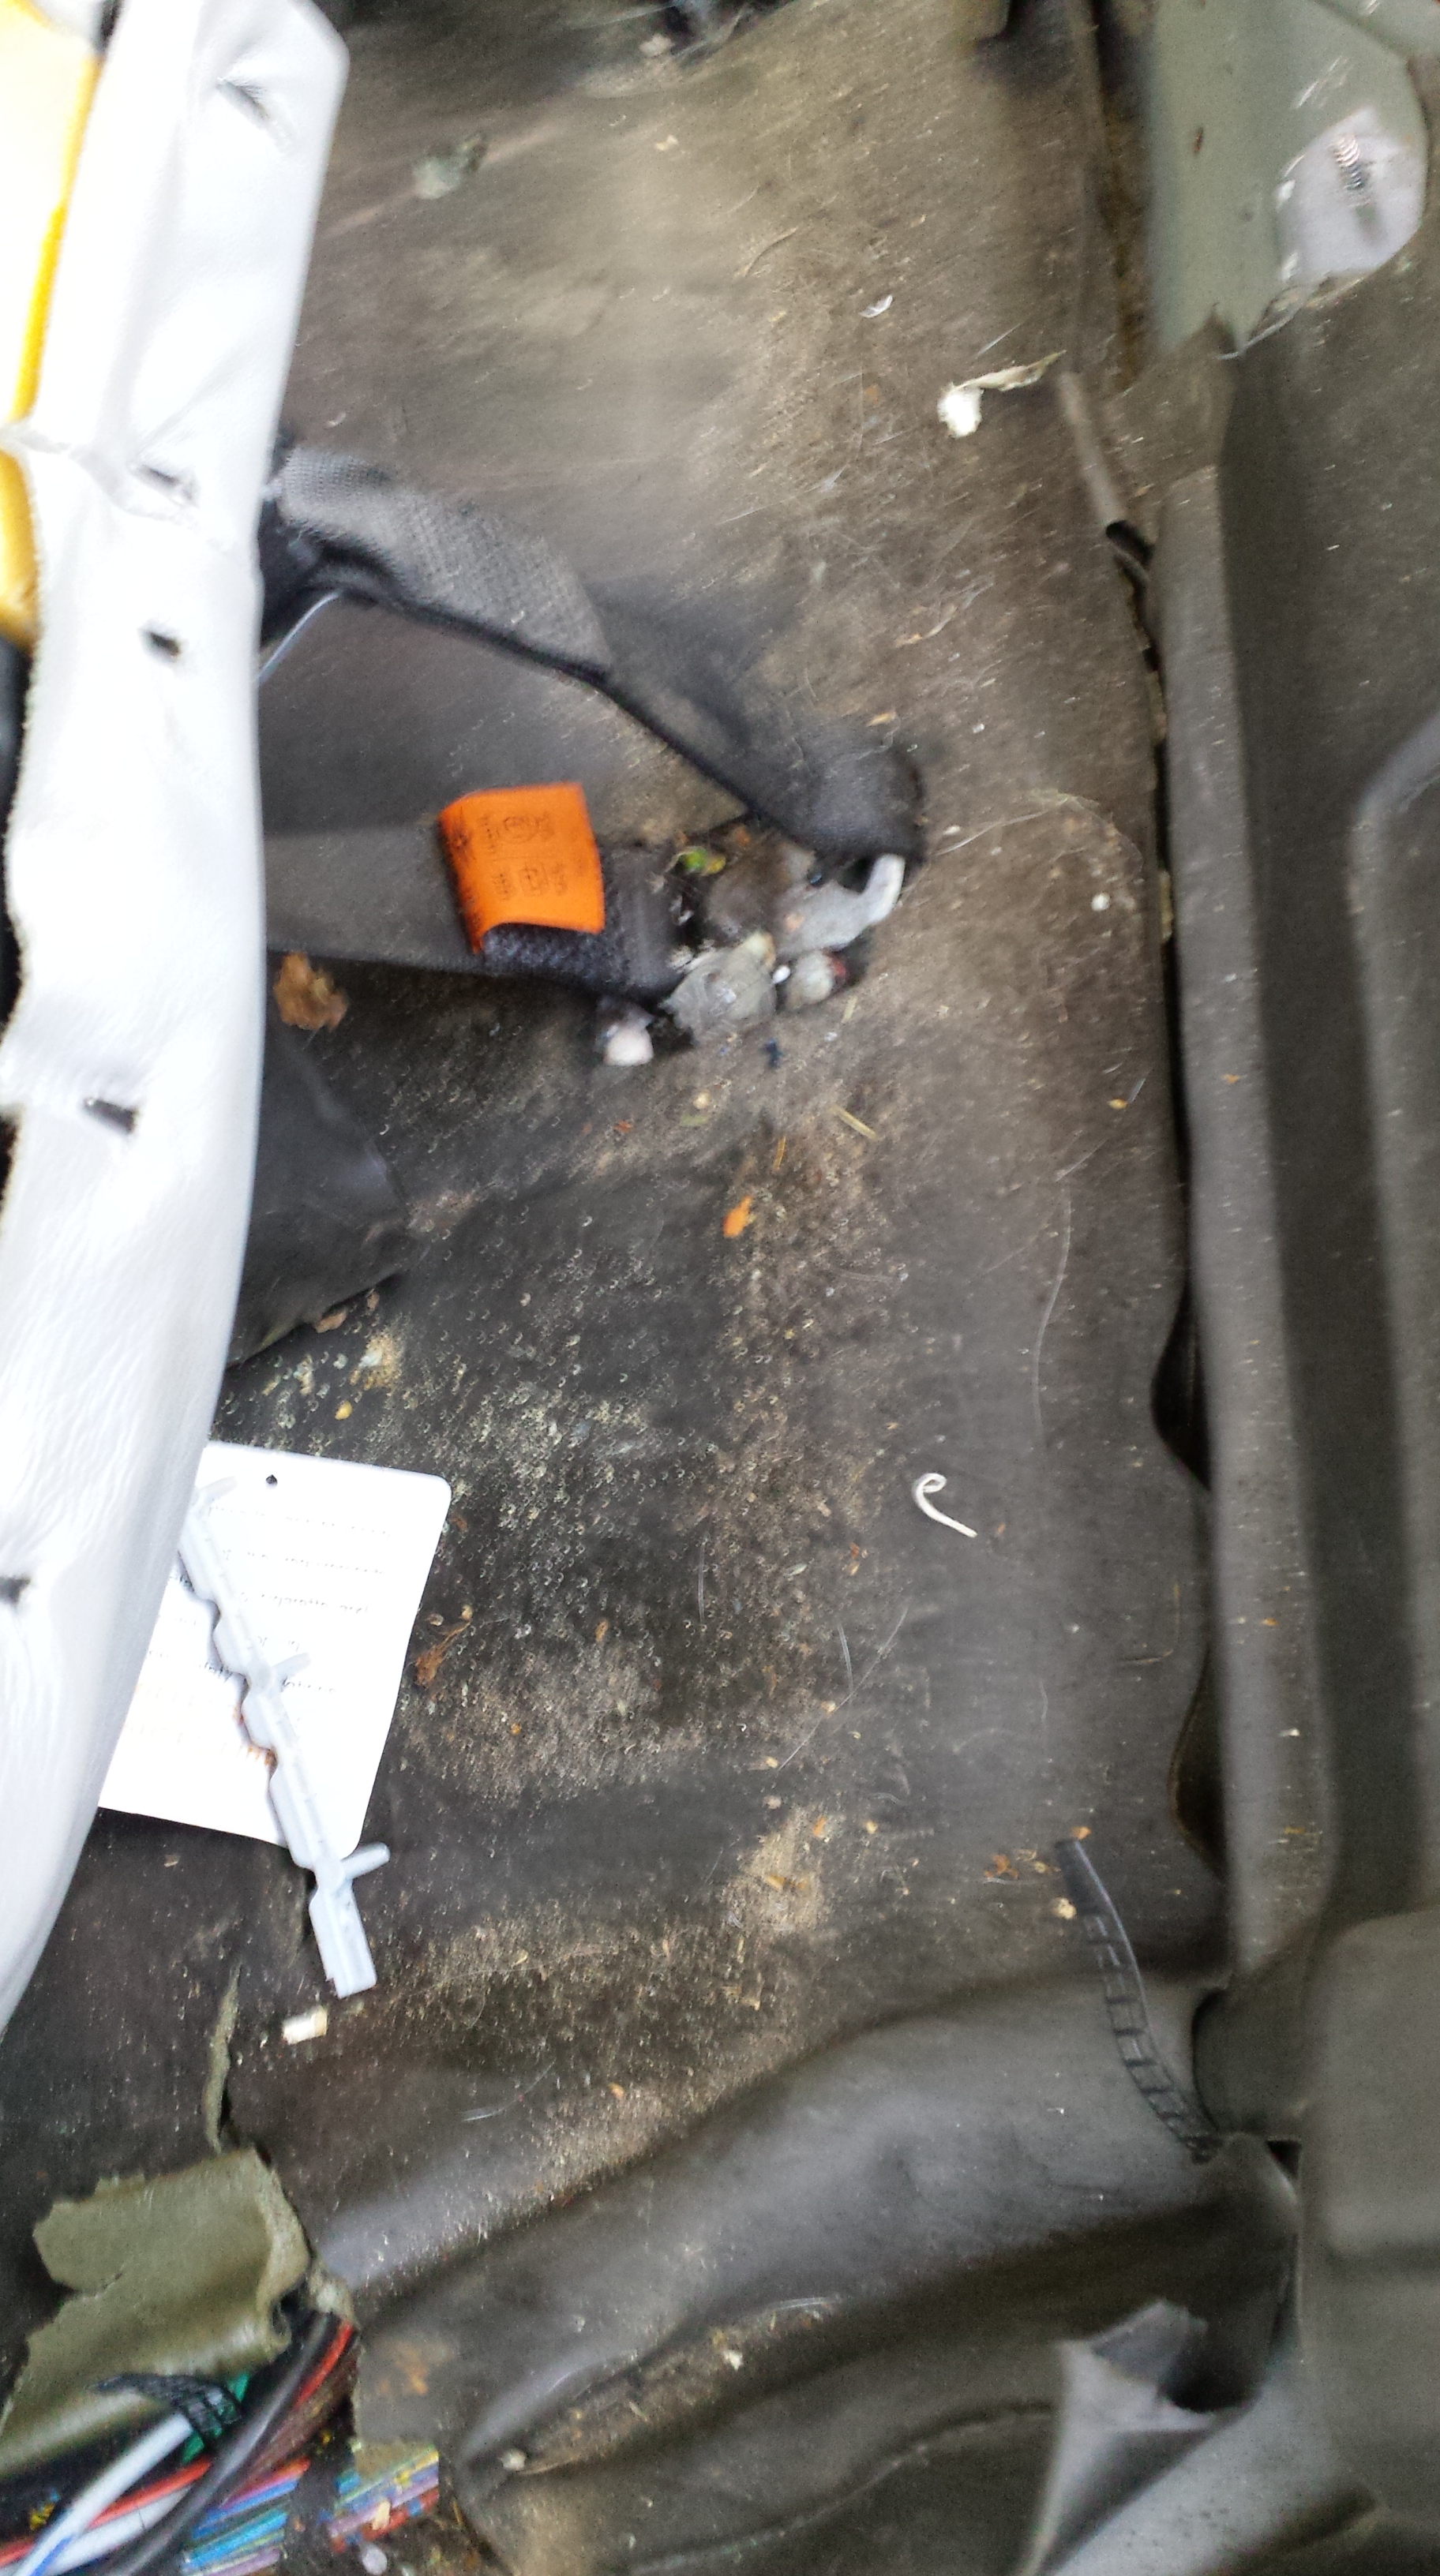
Some swearing and figuring got the back off(along with the armrest)- meaning that the topmount could be seen. Judicious application of a 17mm spanner saw the damper nut loosened without any shock spinning shenanigans.
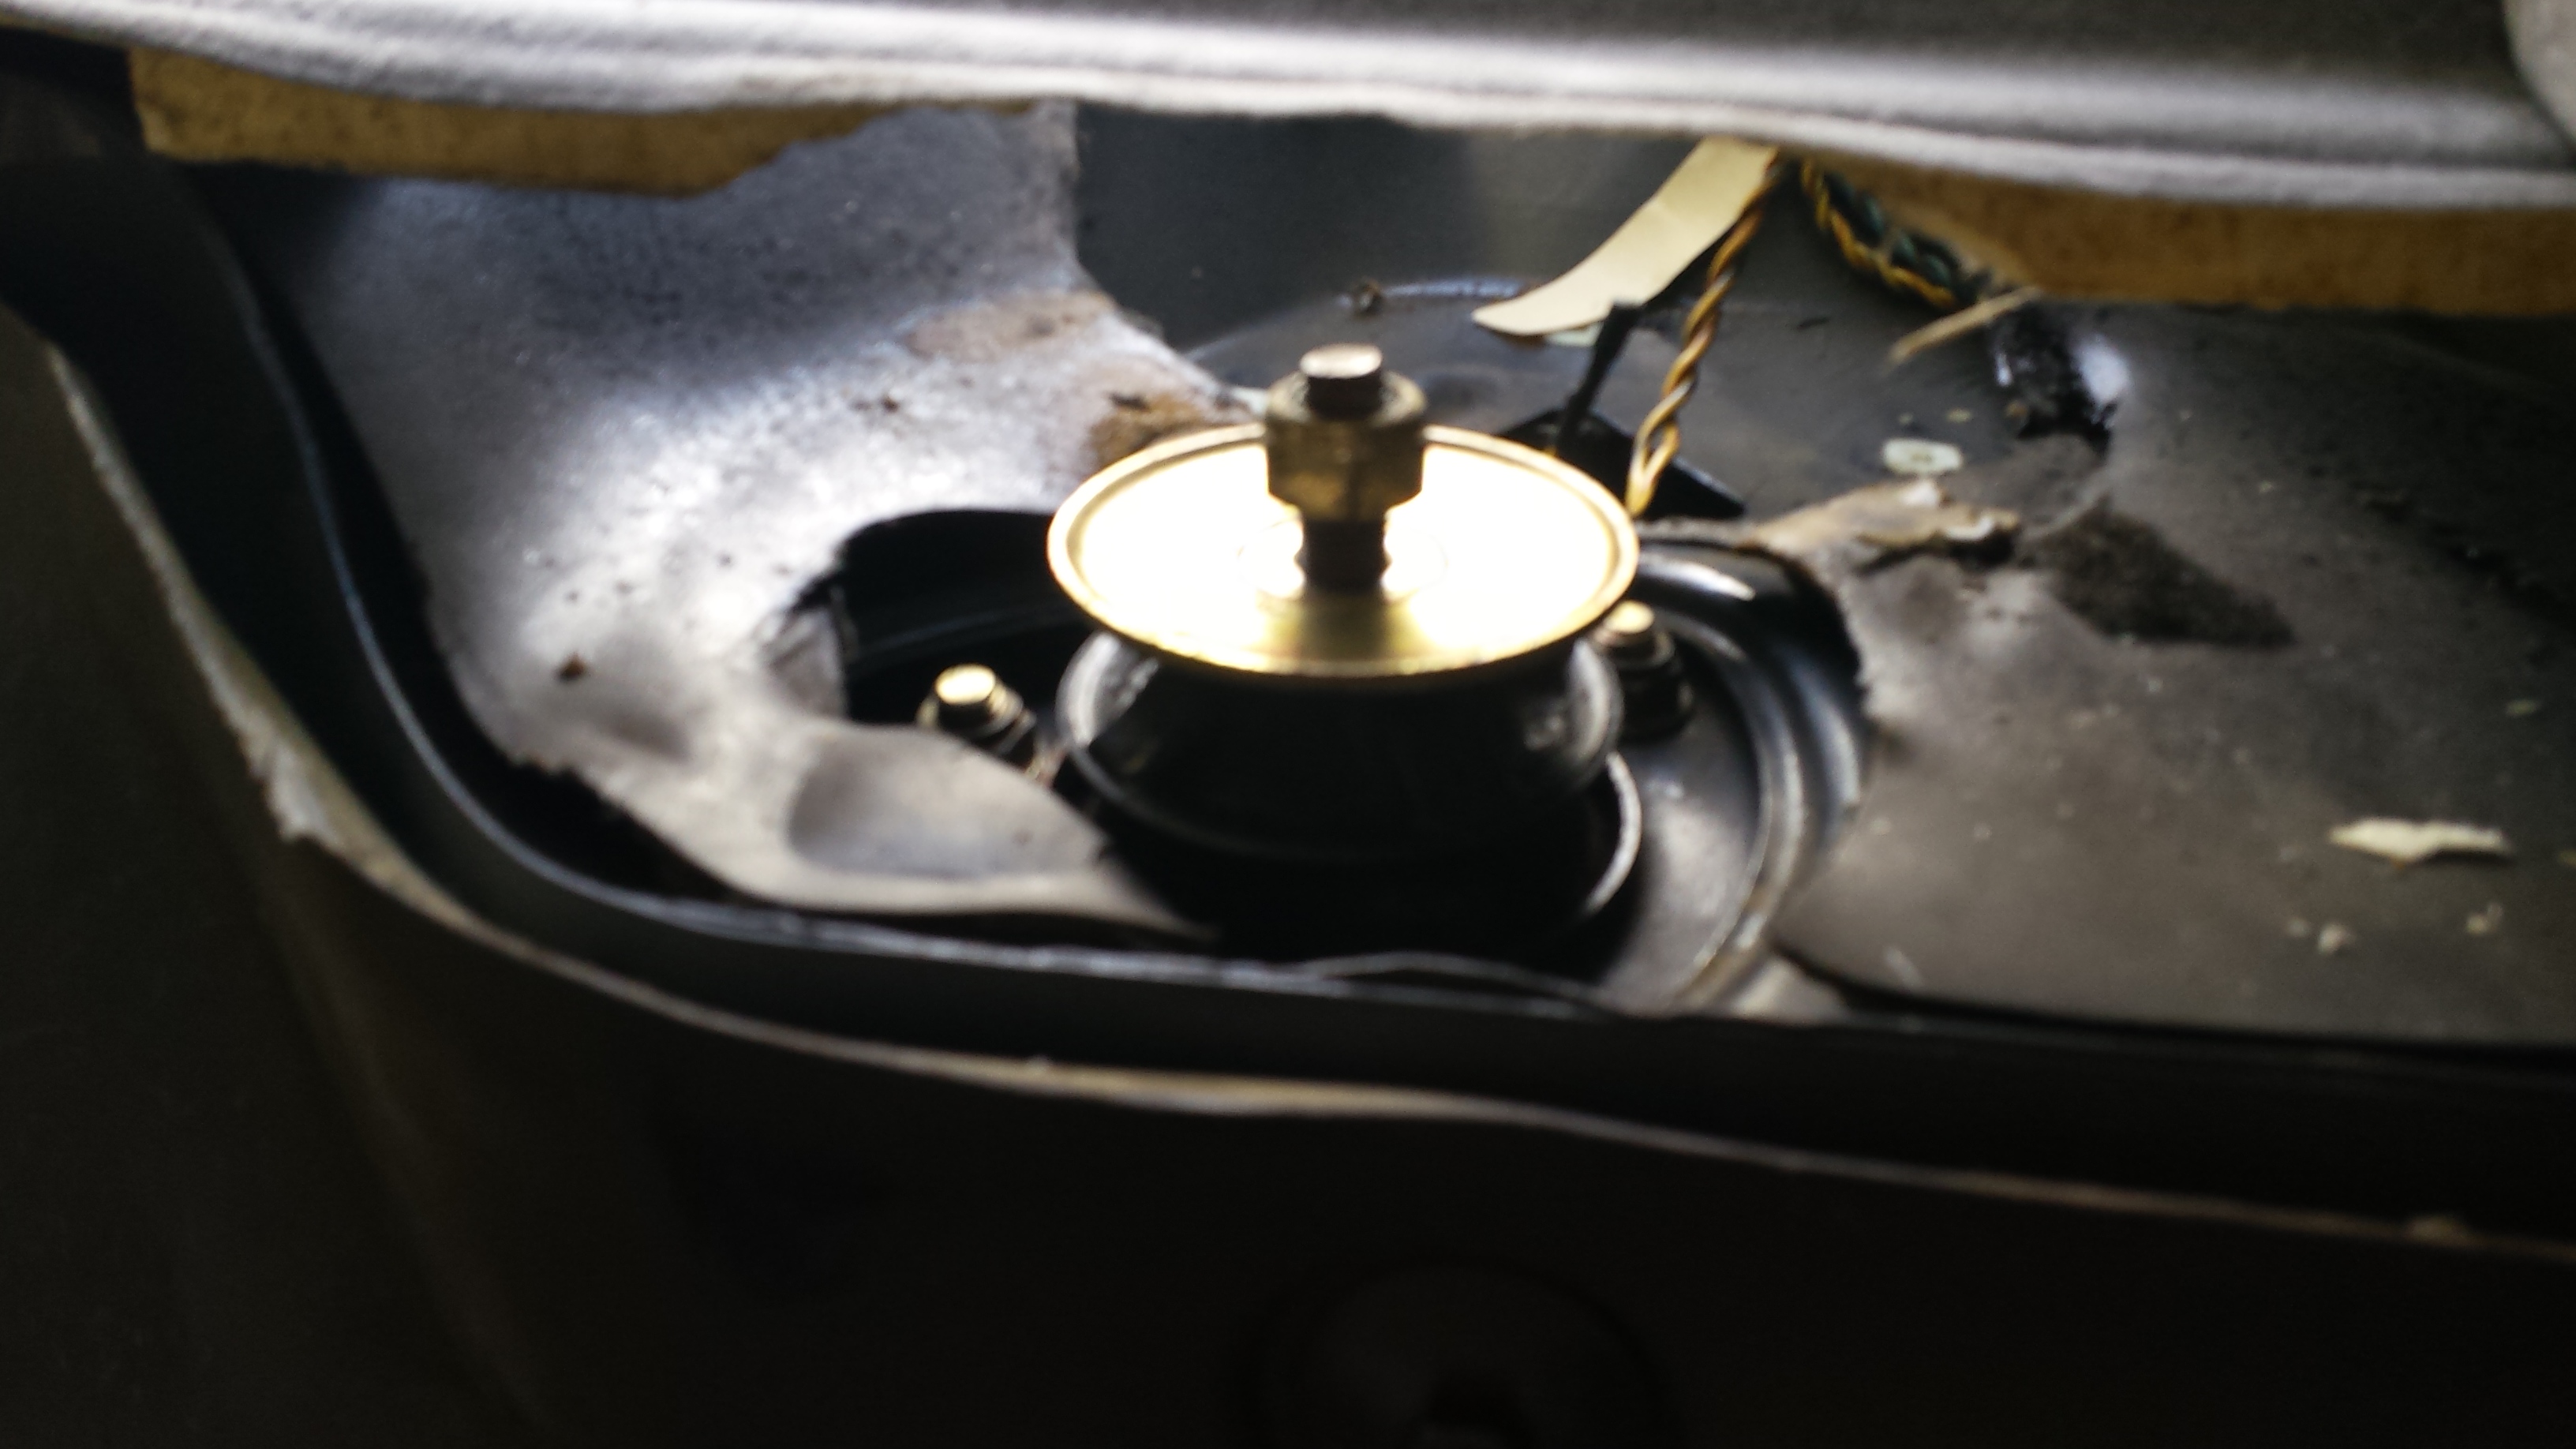
The bottom 22mm bolt and 3x 13mm topmount nuts came undone easily- allowing the tired shock to be “eased” out the hub with a handle mounted persuader.
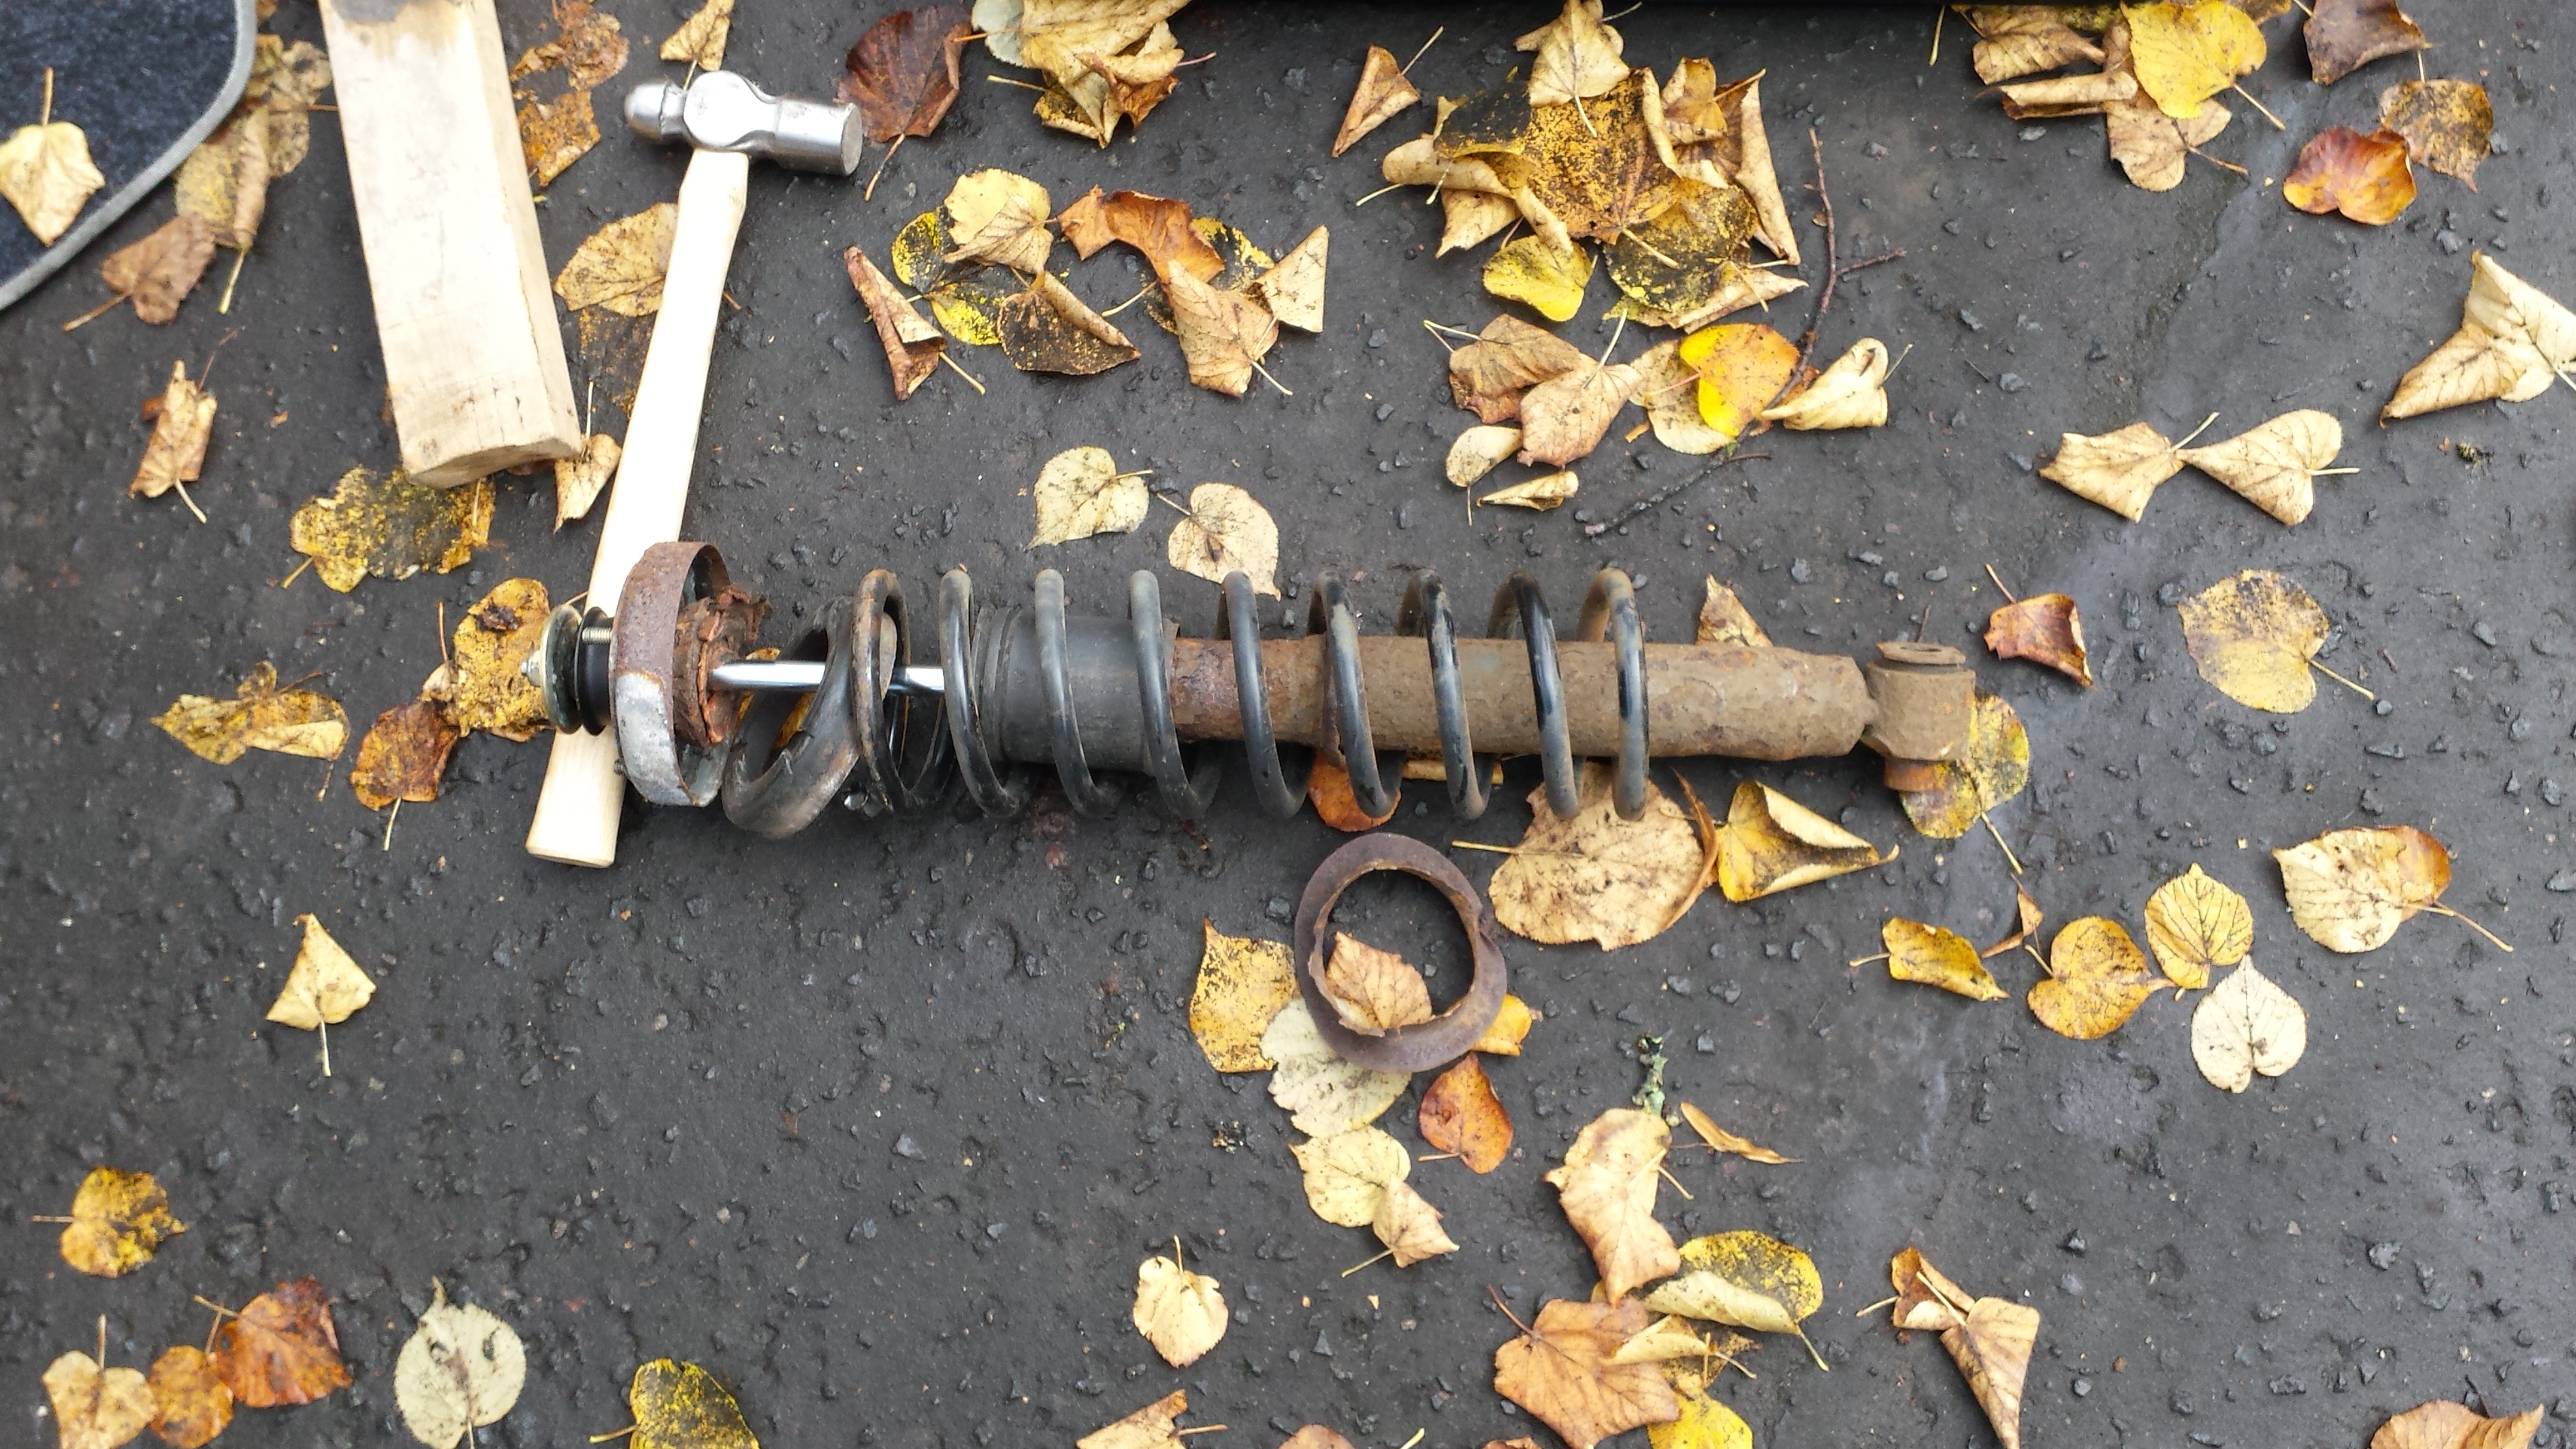
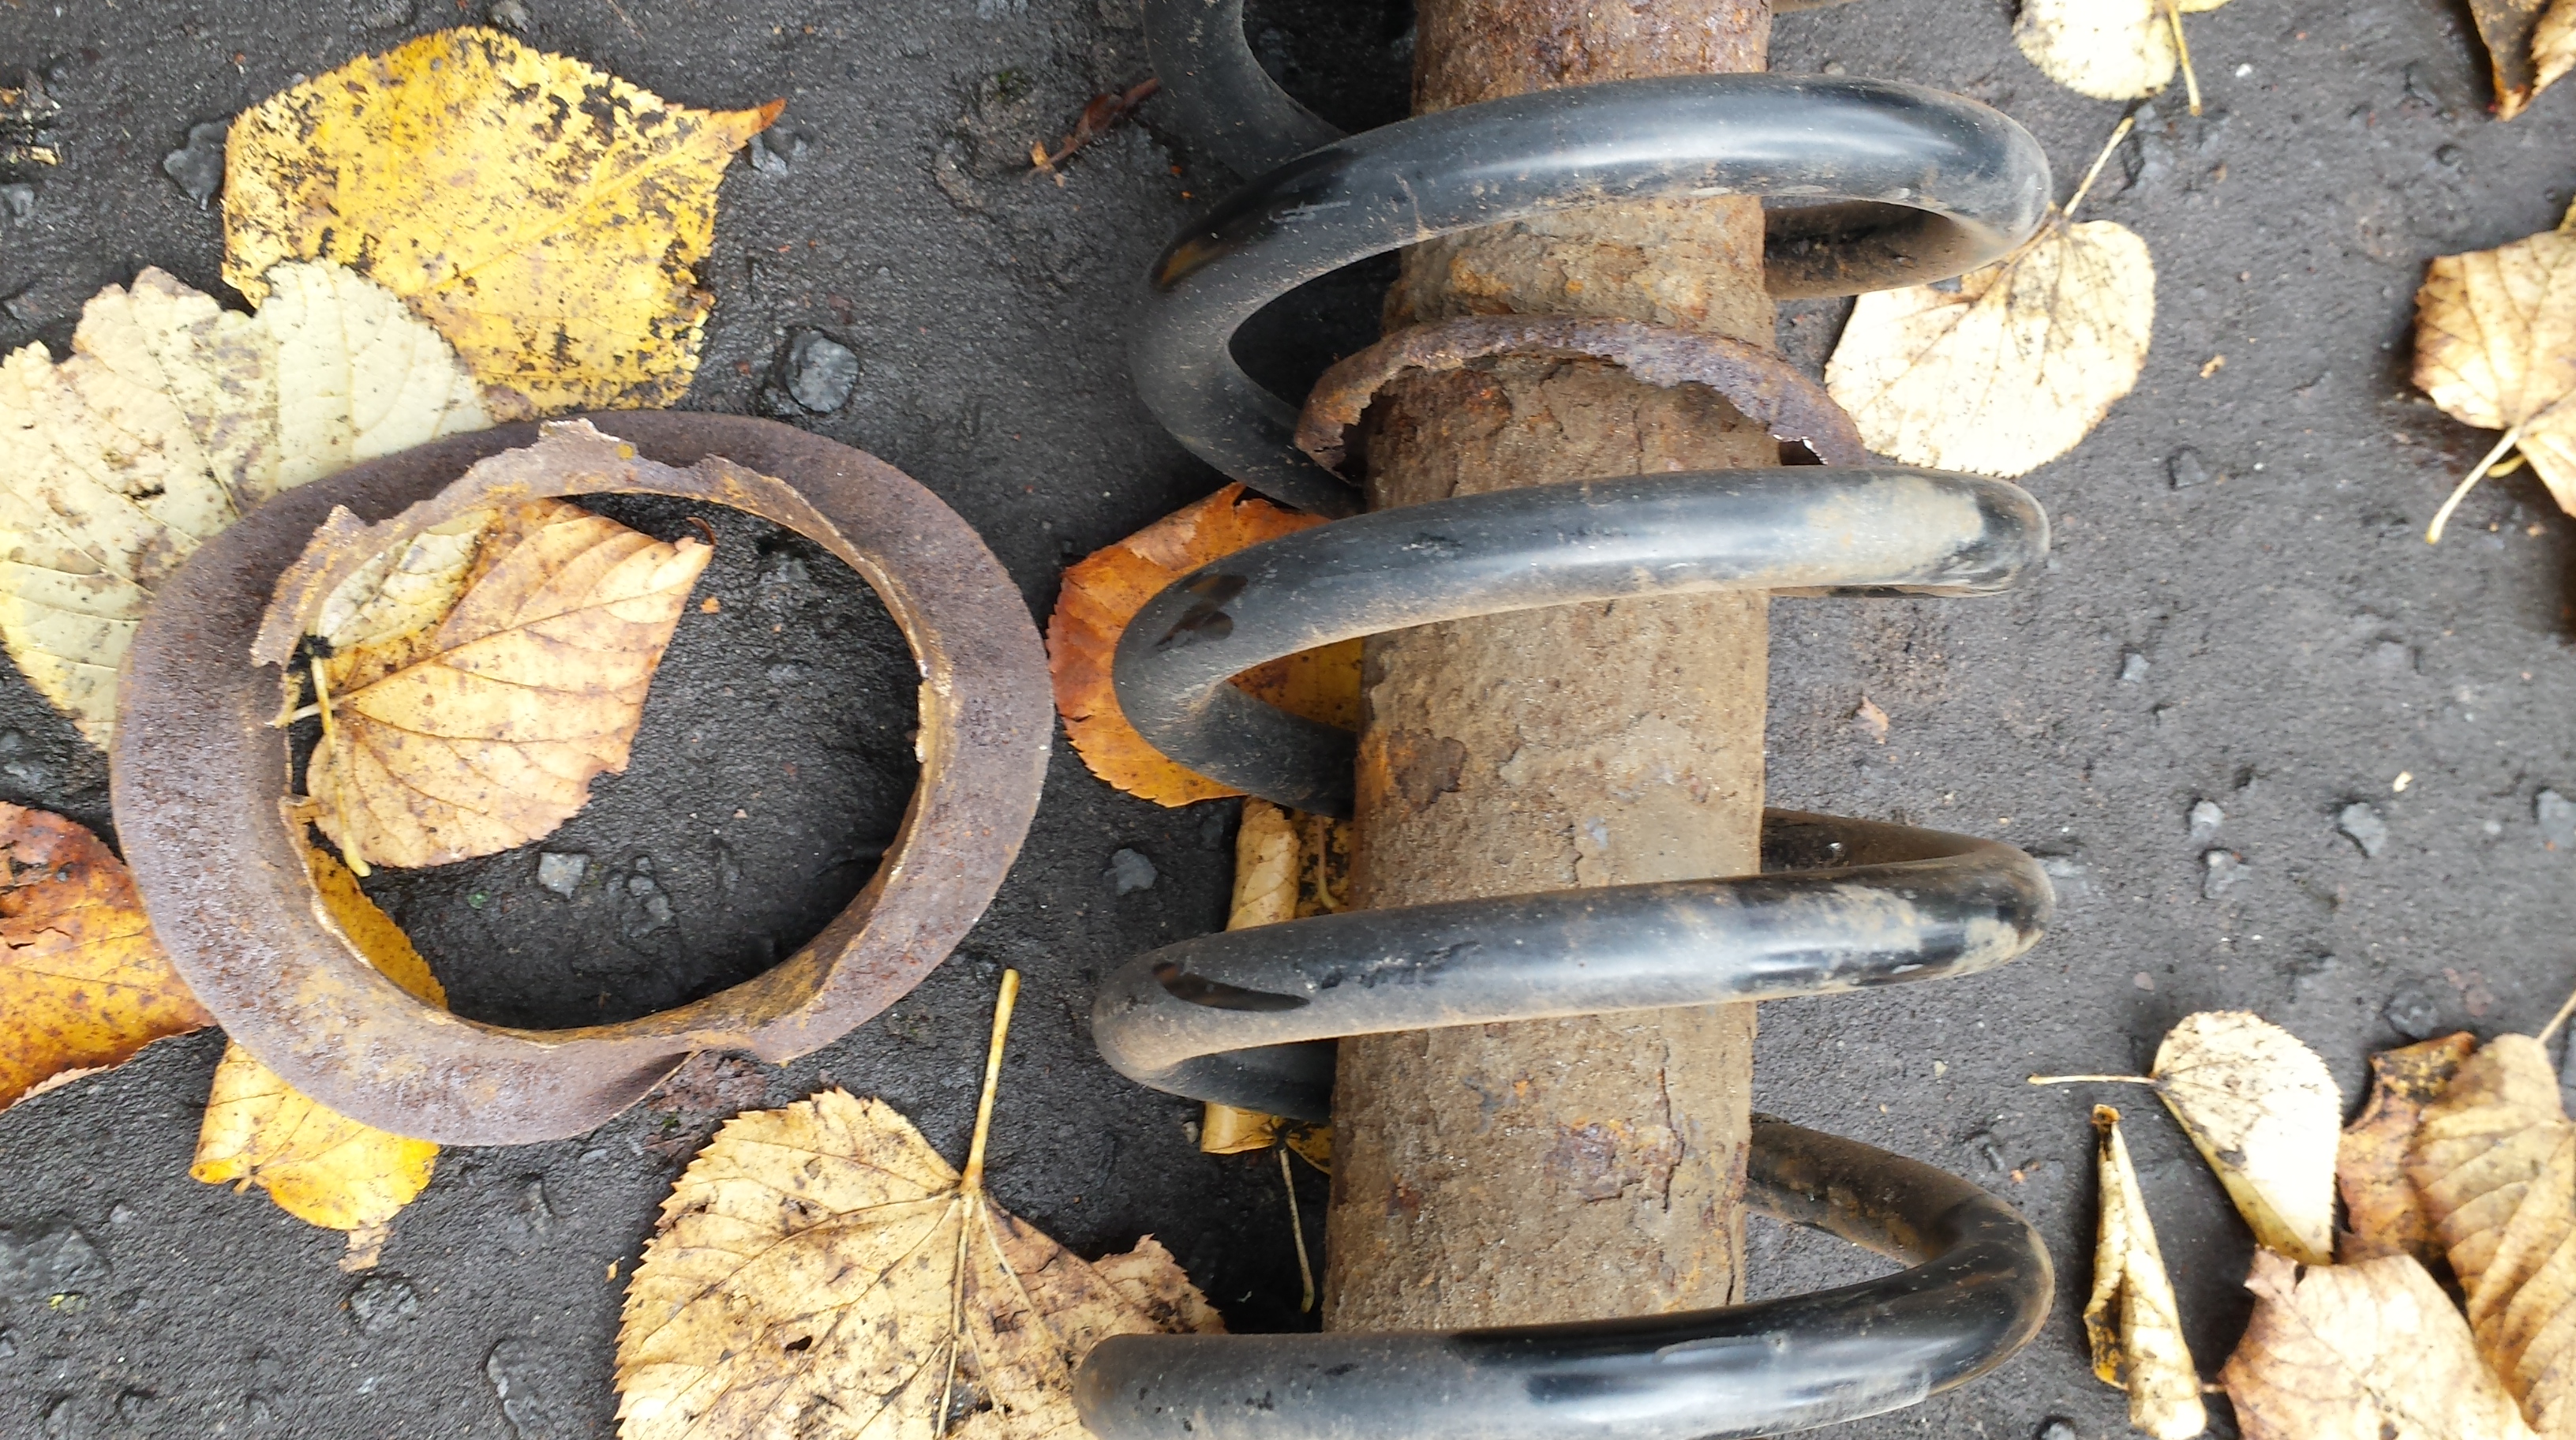
A swift compressing of spring, with a liberal sprinkling of bumpstop and topmount lead to the delight of a reconstructed strut with shiny new damper.

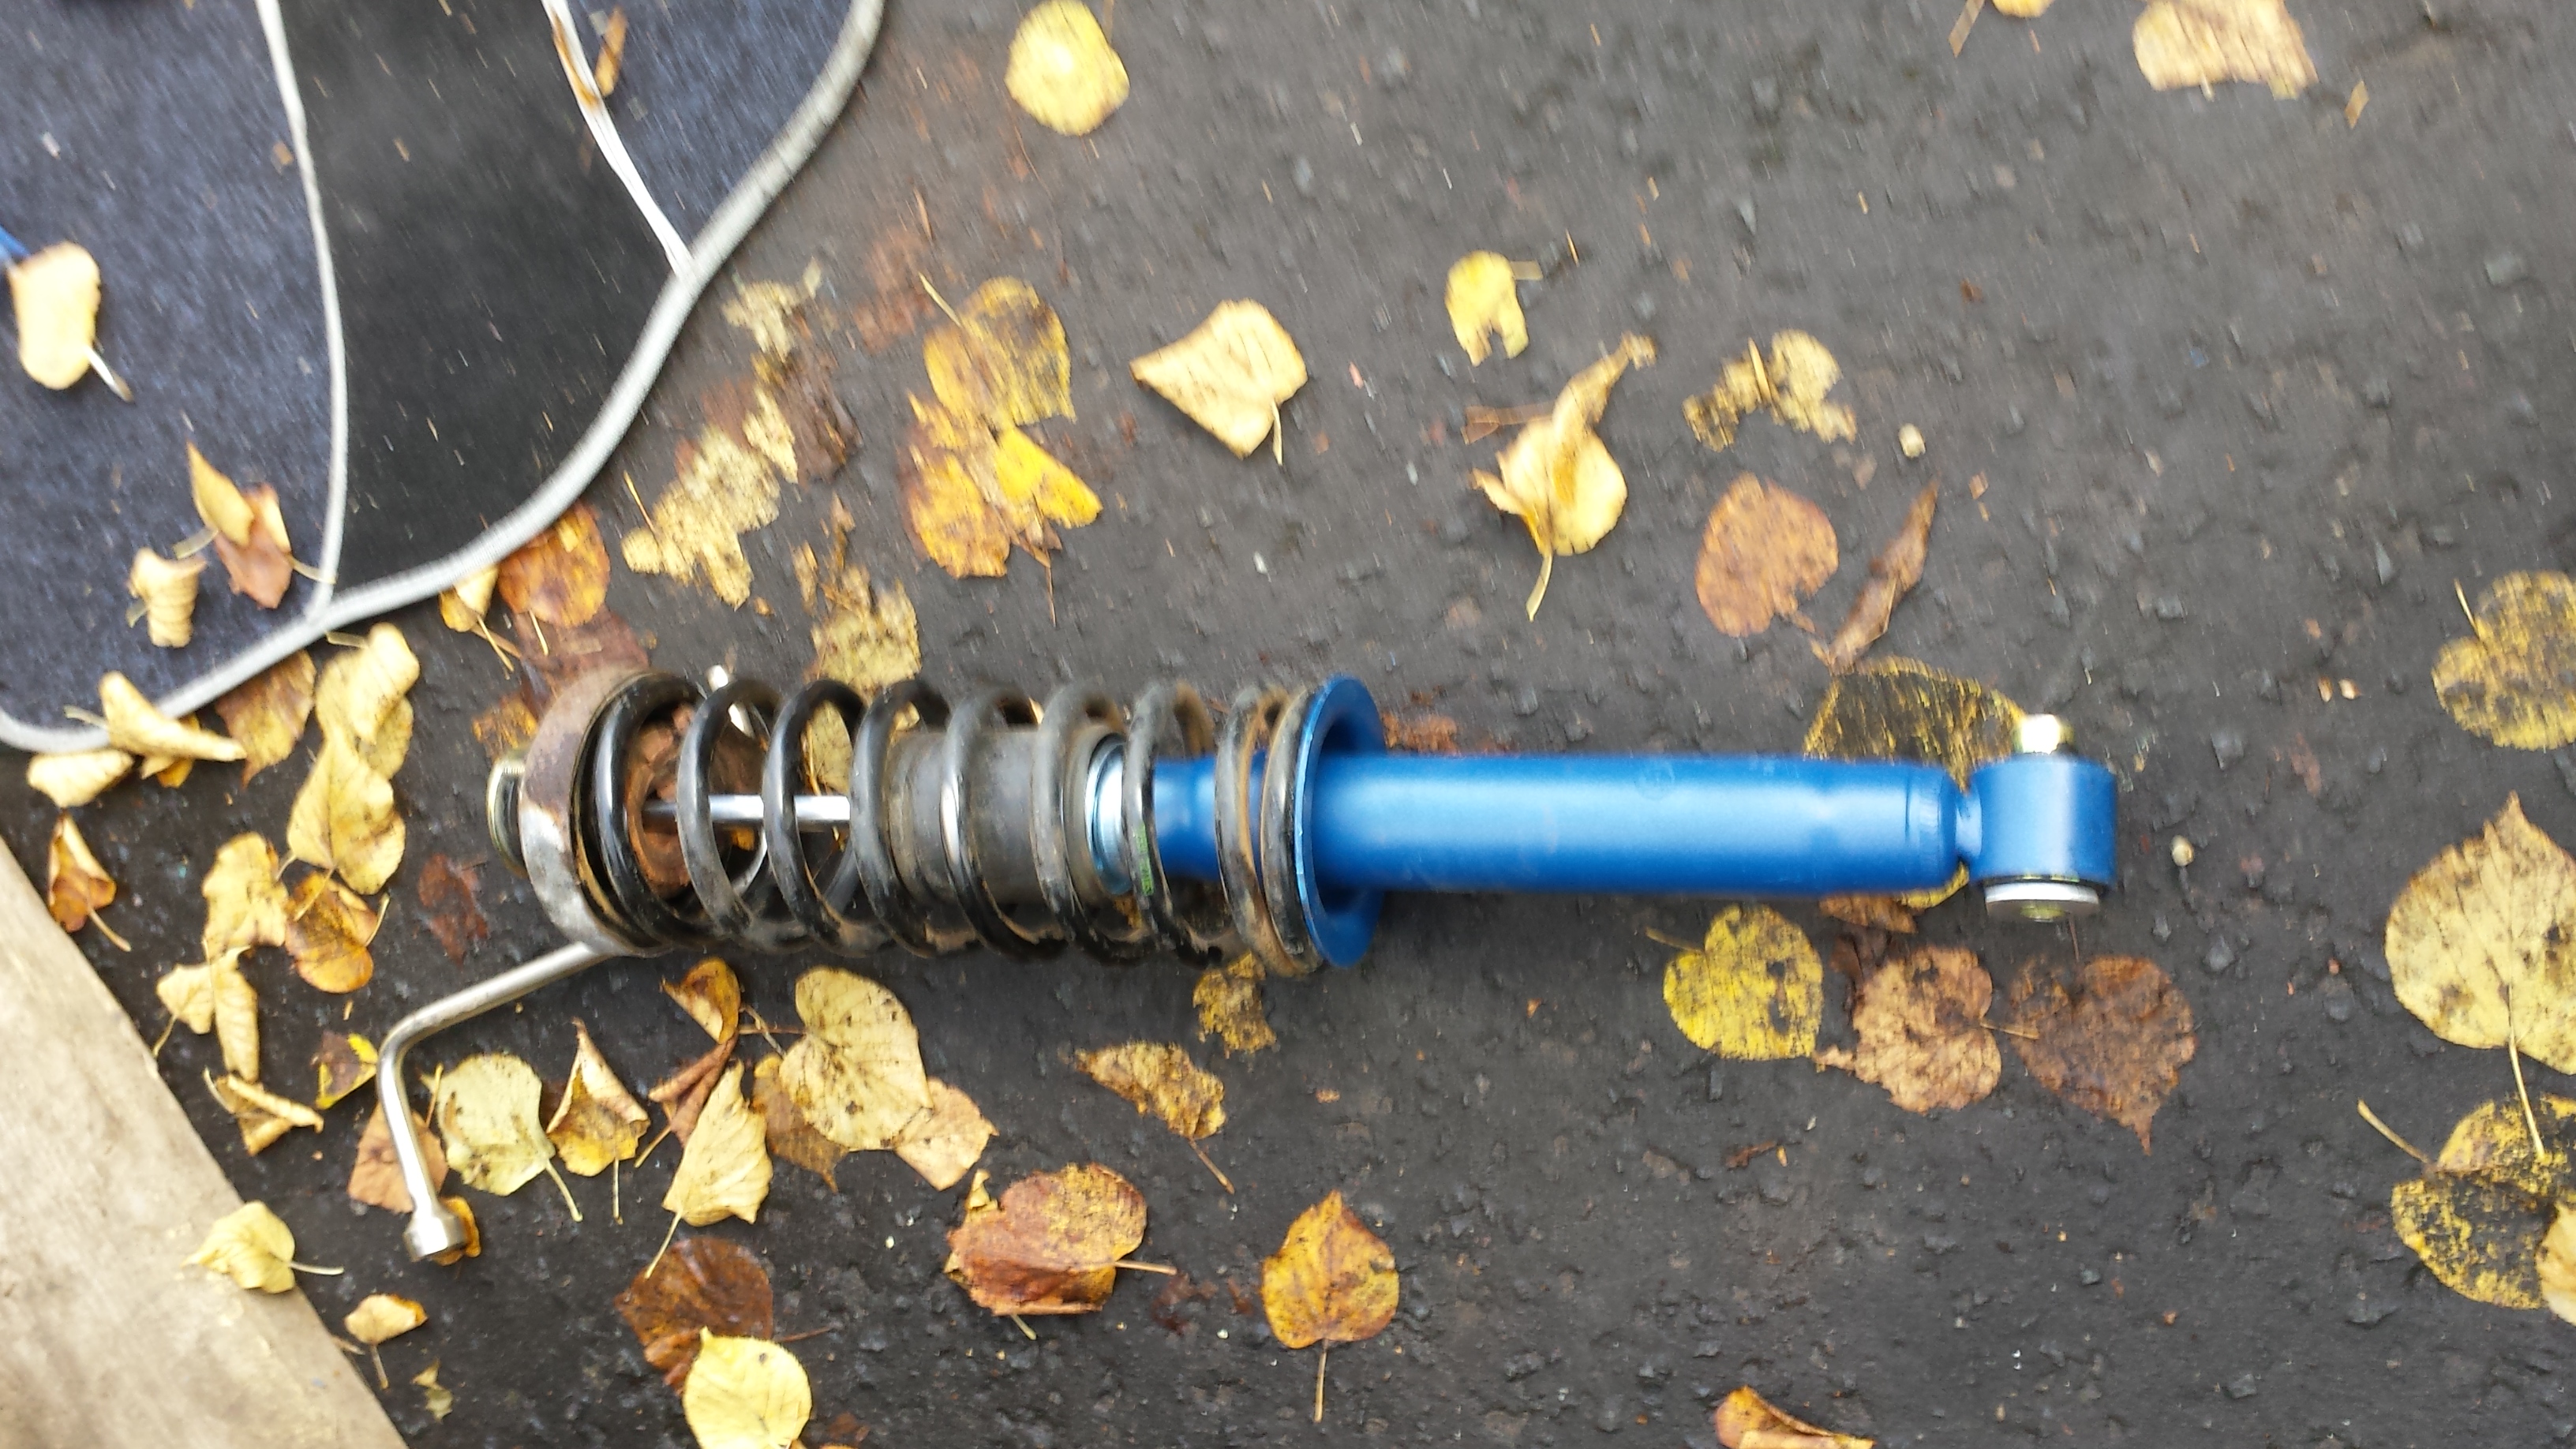
Installation was the reversal of removal- pop the topmount in loosely with the 13mm nuts, then push the hub down and line up the collar on the bottom of the damper. Once square, insert the 22mm bolt and tighten.
Tighten topmount nuts
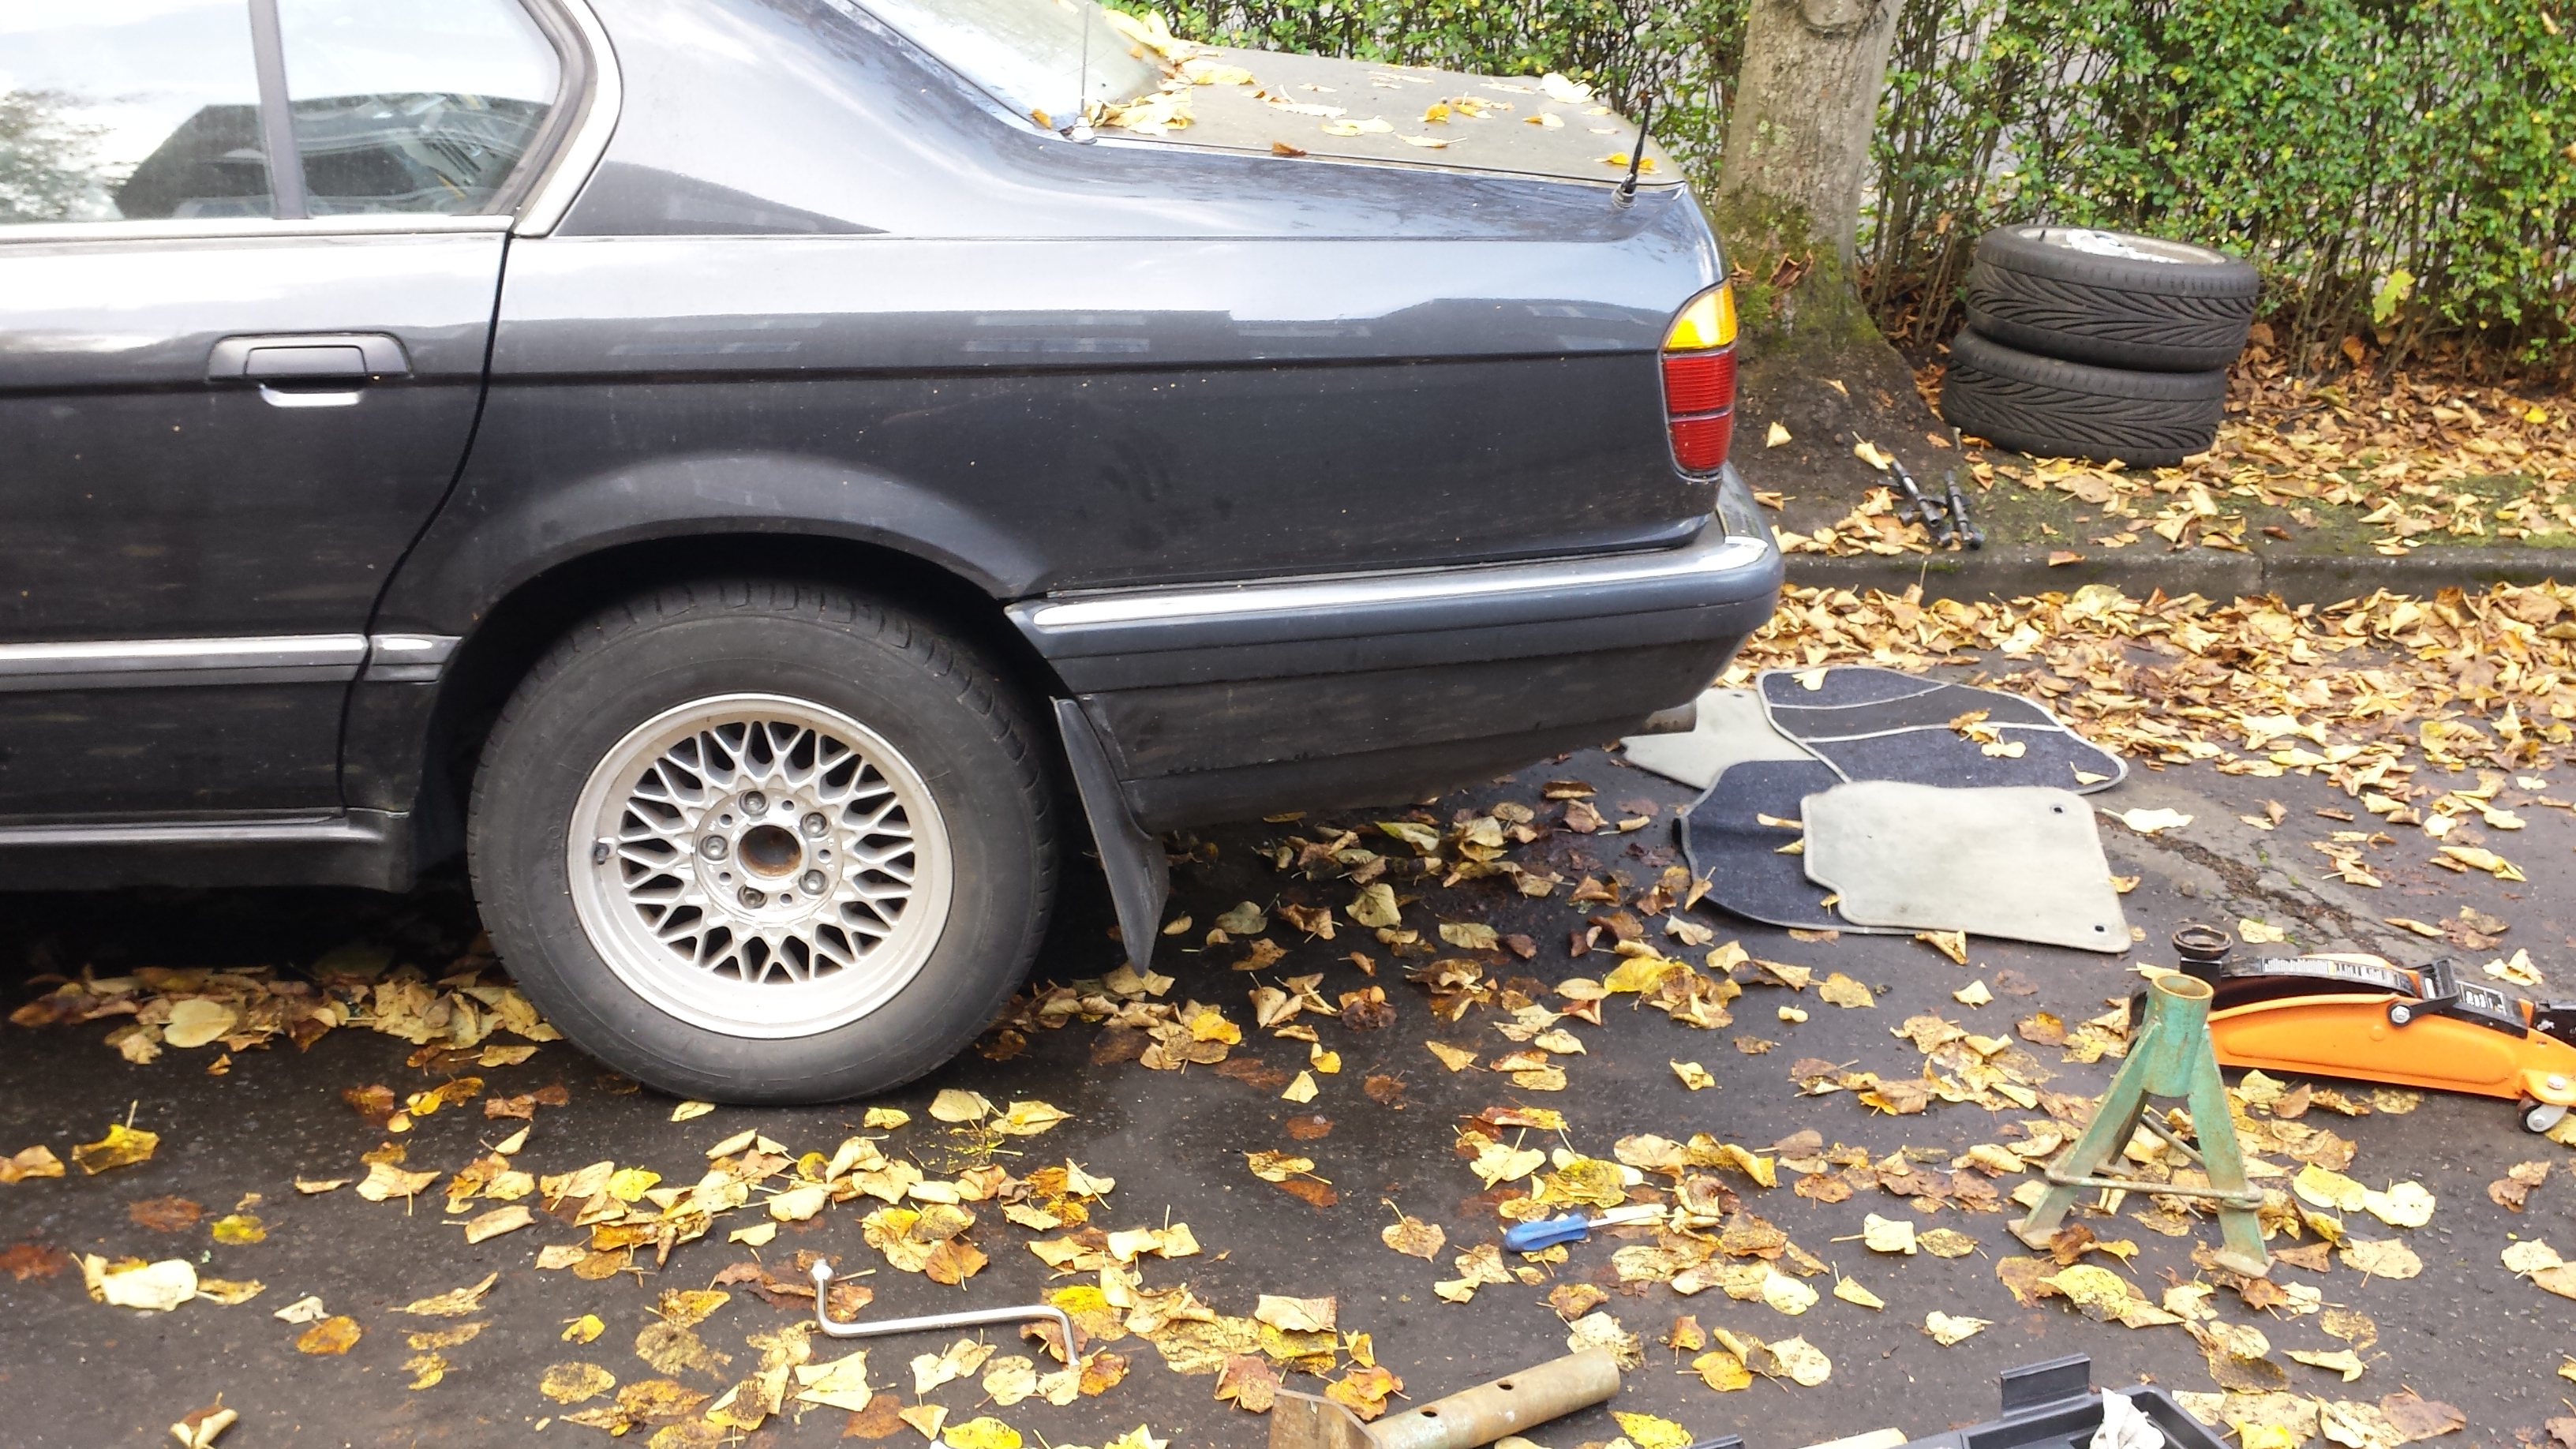
Apply wheel
Remove jack
Marvel
Let off handbrake
Marvel some more (correct ride height is a nice thing)

A final check for stance suggests its sitting fine.
It was at this point I did what Dads SHOULD do- left it as fixed and went for beer.
Likely do the other side next weekend- I’ve left the seat out in anticipation.
It’s done 50 miles since the repair, with no issues (Apart from the usual Oliver Reed like consumption).
Nae greetin weans here!
